 Bakery Images are for illustrative purposes only, may be inaccurate, and do not guarantee the presence or absence of specific ingredients.
  Serving Images are for illustrative purposes only, may be inaccurate, and do not guarantee the presence or absence of specific ingredients.
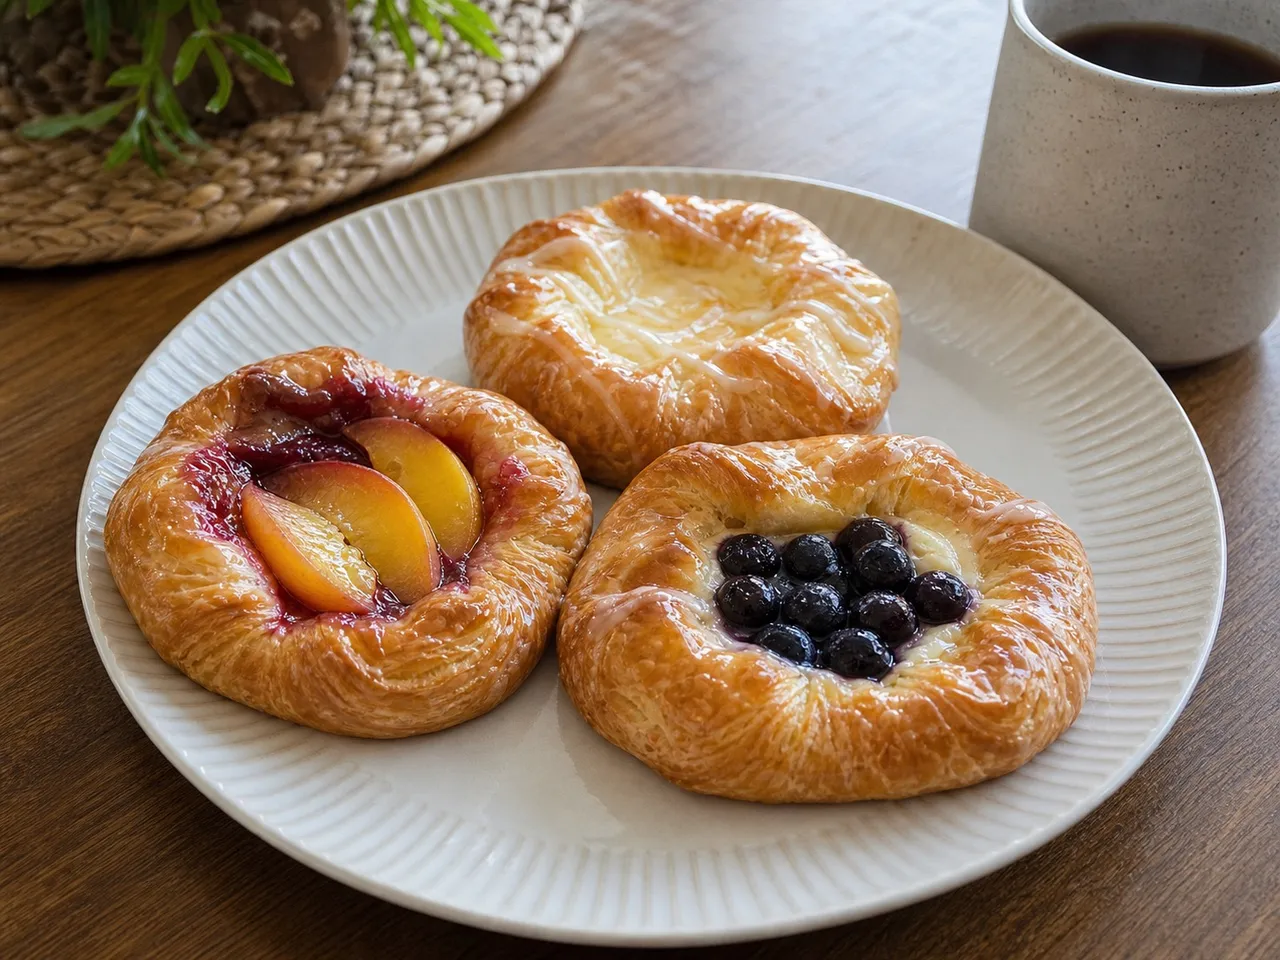
 Danish Pastry
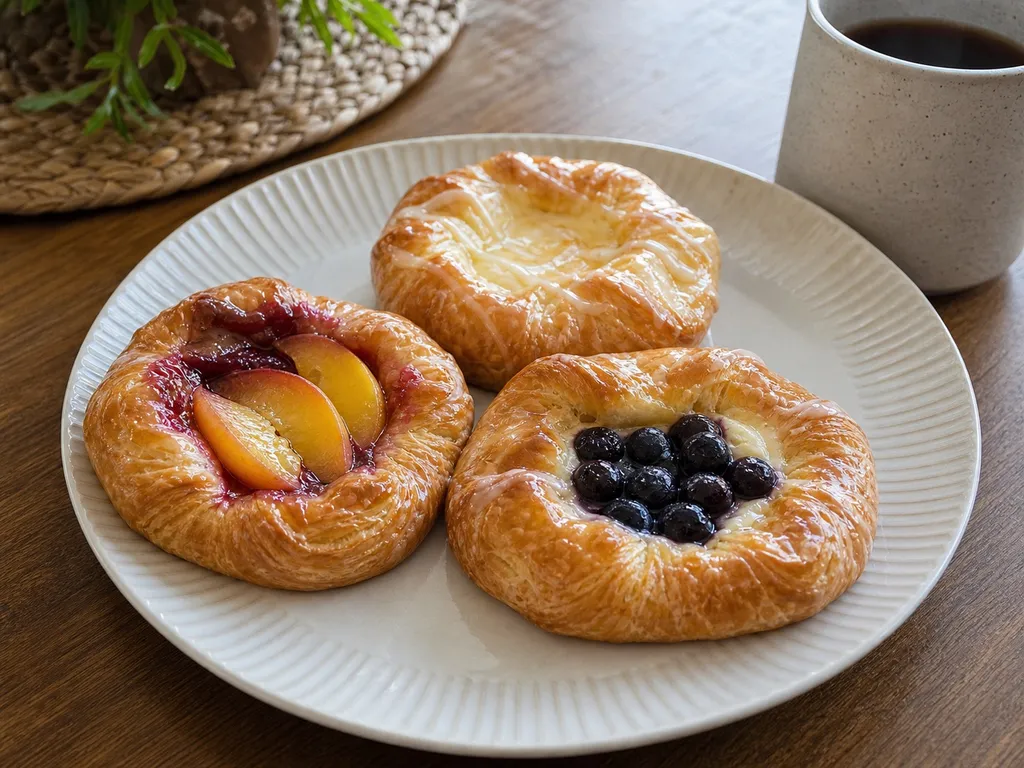
Master the art of lamination with this exquisite, incredibly flaky Danish pastry, featuring dozens of buttery layers encasing a beautifully sweet and tangy fruit or cream cheese center.
Contains common allergens
In the app, Listahan checks these against your household automatically.
Instructions
6 steps- 1
In a stand mixer, combine the flour, sugar, yeast, salt, warm milk, and eggs. Mix until a dough forms, then knead for 5 minutes. Form into a rectangle, wrap in plastic, and chill for 1 hour.
- 2
Prepare the butter block by pounding the cold butter between two sheets of parchment paper into an 8x8-inch square. Chill until firm but pliable.
- 3
Roll the chilled dough into an 8x12-inch rectangle. Place the butter block on one half, fold the other half over, and seal the edges completely to encase the butter.
- 4
Perform three "single turns": roll the dough out to a long rectangle, fold it in thirds like a letter, and rotate 90 degrees. Wrap and chill the dough for 30 minutes between each turn.
- 5
Roll the final laminated dough to a 1/4-inch thickness. Cut into 4-inch squares. Fold the corners toward the center to create a pinwheel or diamond shape, pressing firmly to seal. Place on a parchment-lined baking sheet and let proof for 1.5 hours until puffy.
- 6
Preheat the oven to 400°F (200°C). Press an indentation into the center of each pastry and fill with a tablespoon of fruit preserves or cream cheese. Brush the dough with egg wash and bake for 15-20 minutes until deeply golden and flaky.
 Images are for illustrative purposes only, may be inaccurate, and do not guarantee the presence or absence of specific ingredients.
 Listahan Family Score™
69/100
Works for many families
Score reflects how well this recipe fits a typical busy household. In the app, your Family Score is personalized to your household's allergens, kids, and pantry.
Nutrition
per serving50
Calories
1 g
Protein
10 g
Carbs
1 g
Fat
Estimated per serving. Actual values depend on the brands and portions you use.
Listahan cooking guide
Chef notes & practical guide
Technique notes, ingredient swaps, serve-alongside ideas, storage guidance, and equipment for this recipe.
Cultural context
Despite the name, this laminated yeasted dough reached Denmark by way of Austrian bakers brought in during an 1850s Danish bakers' strike; the imported Viennese lamination method was adapted with Danish proportions of butter and eggs, and Danish bakers still call the pastry wienerbrod, meaning Vienna bread, in a nod to where the technique came from.
Listahan note
This version keeps the dough cold through every fold of the lamination so the butter stays in distinct layers rather than melting into the dough during shaping, which is what produces the flaky separation rather than a dense, bready crumb.
Technique cues
- The dough needs to stay cold through the entire lamination process; if the butter softens and streaks into the surrounding dough, the pastry bakes up dense instead of showing separated, flaky layers.
- Three to four letter folds, each followed by a chill in the fridge, are what build the layer count; skipping those rests lets the gluten fight back and tear rather than roll out smoothly.
- A final proof at warm room temperature, not a hot spot, lets the yeast raise the shaped pastries without melting the butter layers before they reach the oven.
- A fully preheated, hot oven, around 375 to 400 degrees F, flashes the butter layers into steam quickly, which is what creates the pastry's characteristic lift and shattering bite.
Kitchen flow
- Parallel prep
- Set the table and prep toppings while Danish Pastry cooks — most breakfast dishes only need a few unattended minutes. This one leans on the active dry yeast. Plan around the bake; that's the slow part.
- Make-ahead
- Prep the components of Danish Pastry the night before so morning assembly is quick. This one leans on the active dry yeast. Everything else is quick — the bake is the one step that takes real time.
- Leftover move
- Refrigerate leftover Danish Pastry and reheat gently — a splash of water or milk on reheat keeps the texture from going dry. This one leans on the active dry yeast. Plan around the bake; that's the slow part.
- Cleanup rhythm
- Soak the pan used for Danish Pastry right after cooking — eggs and batters set hard fast once the pan cools. This one leans on the active dry yeast. The bake step is what sets the pace here.
Ingredient brief
Role, handling, and swap guidance for each key ingredient.
Dough: 4 cups all-purpose flour
Structural base
Purpose: Dough: 4 cups all-purpose flour defines the shape and texture of the dish.
Handling: Measure before heating and break up clumps so the mix distributes evenly.
Adaptation: Use a certified gluten-free alternative when needed and expect a small texture change.
1/3 cup sugar
Sweetness and aroma
Purpose: cup sugar adds aroma, sweetness, or warmth without needing extra garnish.
Handling: Measure before heating and break up clumps so the mix distributes evenly.
Adaptation: Use the closest fresh equivalent and expect a modest shift in flavor or texture.
2 1/4 tsp active dry yeast
Flavor support
Purpose: 1/4 tsp active dry yeast supports the balance of Danish Pastry and should taste integrated.
Handling: Prep before heat is high so the cooking step can move without rushing.
Adaptation: Use the closest fresh equivalent and expect a modest shift in flavor or texture.
1 tsp salt
Flavor support
Purpose: tsp salt supports the balance of Danish Pastry and should taste integrated.
Handling: Prep before heat is high so the cooking step can move without rushing.
Adaptation: Use the closest fresh equivalent and expect a modest shift in flavor or texture.
1 cup warm milk
Richness and texture
Purpose: cup warm milk rounds the texture and helps the dish feel complete.
Handling: Prep before heat is high so the cooking step can move without rushing.
Adaptation: Use unsweetened dairy-free alternatives only where they still provide enough fat and body.
Technique notes
- Shape the pastries the same day they will be baked, since the raw laminated dough does not hold well refrigerated more than a day before the layers begin to merge.
- An egg wash brushed on before baking gives the deep golden sheen; a glaze brushed on after baking, rather than before, keeps the top from turning soggy.
- Danish pastries are best eaten within a few hours of baking, since the same many butter layers that make them flaky also make them go stale quickly.
Ingredient swaps
- Gluten-free direction
- Replace the all-purpose flour with a certified gluten-free 1:1 flour blend or gluten-free noodles/breadcrumbs — check that any other packaged ingredients here are labeled gluten-free too. This one leans on the active dry yeast. Budget about 260 minutes for this one — it serves 8. Bakery technique drives this recipe. Count the ingredient list and it's 6 deep.
- Dairy-free direction
- Swap the warm milk for a neutral dairy-free butter or oil and a full-fat plant milk (oat or coconut work best for body) — the texture shifts slightly but the dish holds together. This one leans on the active dry yeast.
- Egg-aware direction
- Replace the eggs with a flax or chia egg (1 tbsp ground seed + 3 tbsp water, rested 5 minutes) for binding, best when eggs are there for binding rather than structure or rise. This one leans on the active dry yeast.
- Lower-sodium direction
- Hold back roughly a third of the salt at first; taste once everything else has had time to come together. This one leans on the active dry yeast. Budget about 260 minutes for this one — it serves 8. This one is rooted in Bakery cooking. It runs 6 ingredients start to finish.
Serve alongside
- Fresh berries
- Citrus fruit salad
- Mint leaves
- Black coffee
- Hot tea
- Sparkling water with lemon
Serving suggestions only — check pairings for your household's allergens.
Storage & reheating
- Store covered for 3 to 4 days, refrigerated when dairy, eggs, custard, or fresh fruit are involved.
- Reheat gently only when warmth improves the texture.
- Freeze sturdy baked portions up to 2 months; avoid freezing delicate fresh toppings.
Equipment
- Mixing bowls
- Baking dish or pan
- Cooling rack
Make this household-aware
Listahan Pro checks this recipe against your household's allergens, finds pantry-aware swaps, builds the shopping list, and helps you plan the week around it.
Plan it in Listahan
Add Danish Pastry to your week, check it against your household's allergens, and build the shopping list automatically.
More Bakery recipes
 Bakery Lens Verified Images are for illustrative purposes only, may be inaccurate, and do not guarantee the presence or absence of specific ingredients.
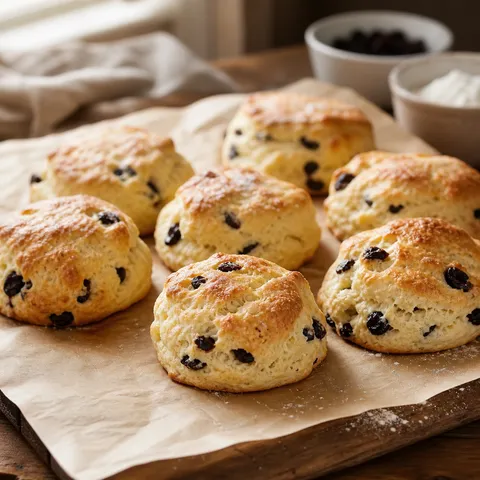
 Scones
Flaky and buttery British baked goods, often with currants or berries.
 Bakery Lens Verified Images are for illustrative purposes only, may be inaccurate, and do not guarantee the presence or absence of specific ingredients.
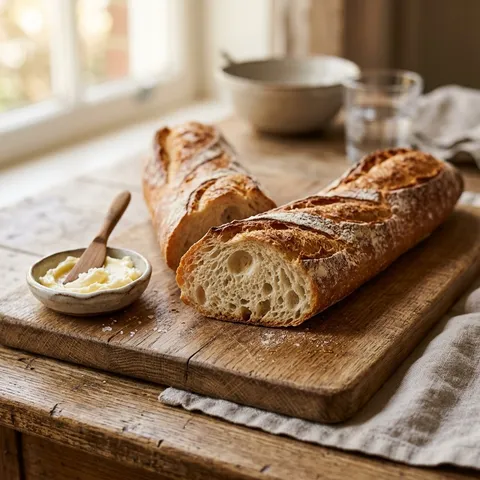
 French Baguette
Savor the authentic crunch of this rustic French baguette, featuring a beautifully crackling golden crust and a soft, airy, and utterly irresistible crumb.
 Bakery Lens Verified Images are for illustrative purposes only, may be inaccurate, and do not guarantee the presence or absence of specific ingredients.
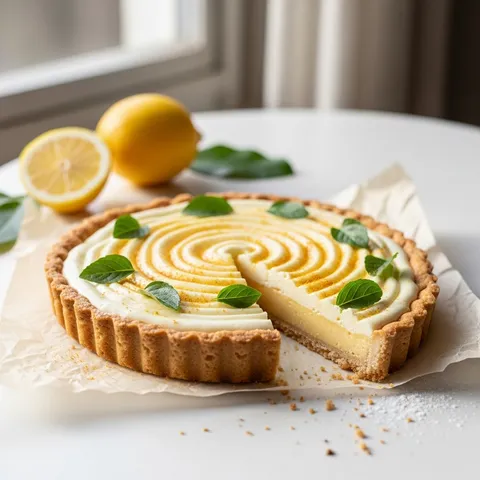
 Lemon Tart
Brighten your dessert spread with this elegant lemon tart, perfectly balancing a brilliantly zesty, silky-smooth lemon curd inside a crisp and buttery sweet pastry shell.