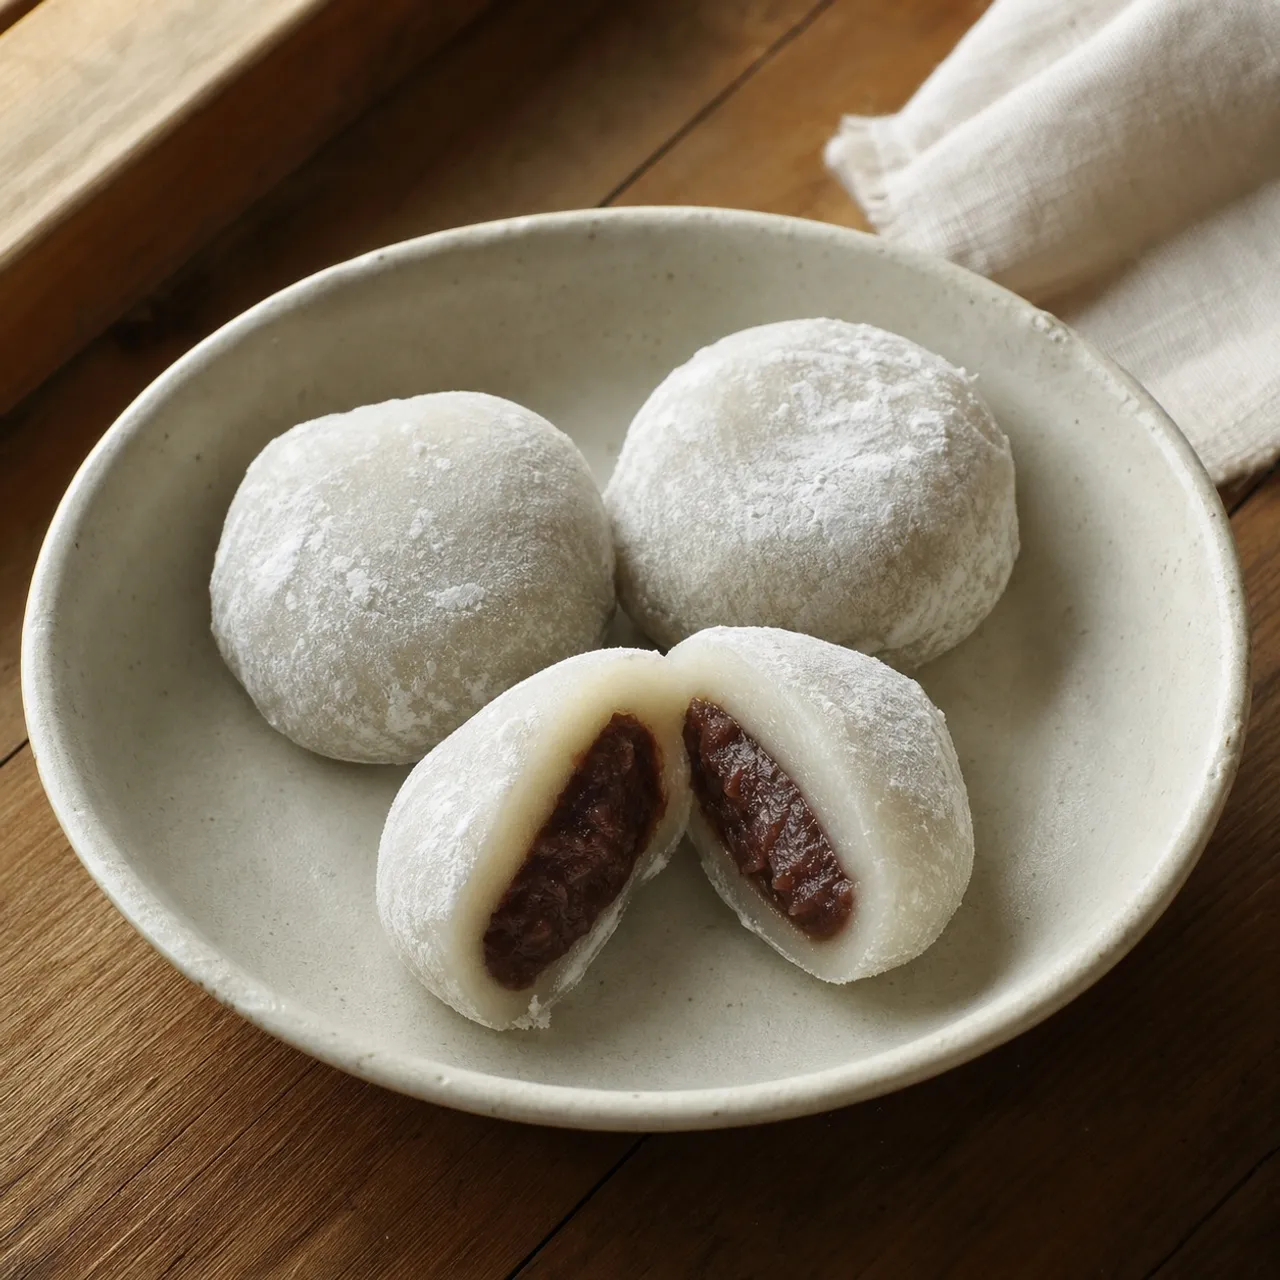
 Japanese Images are for illustrative purposes only, may be inaccurate, and do not guarantee the presence or absence of specific ingredients.
 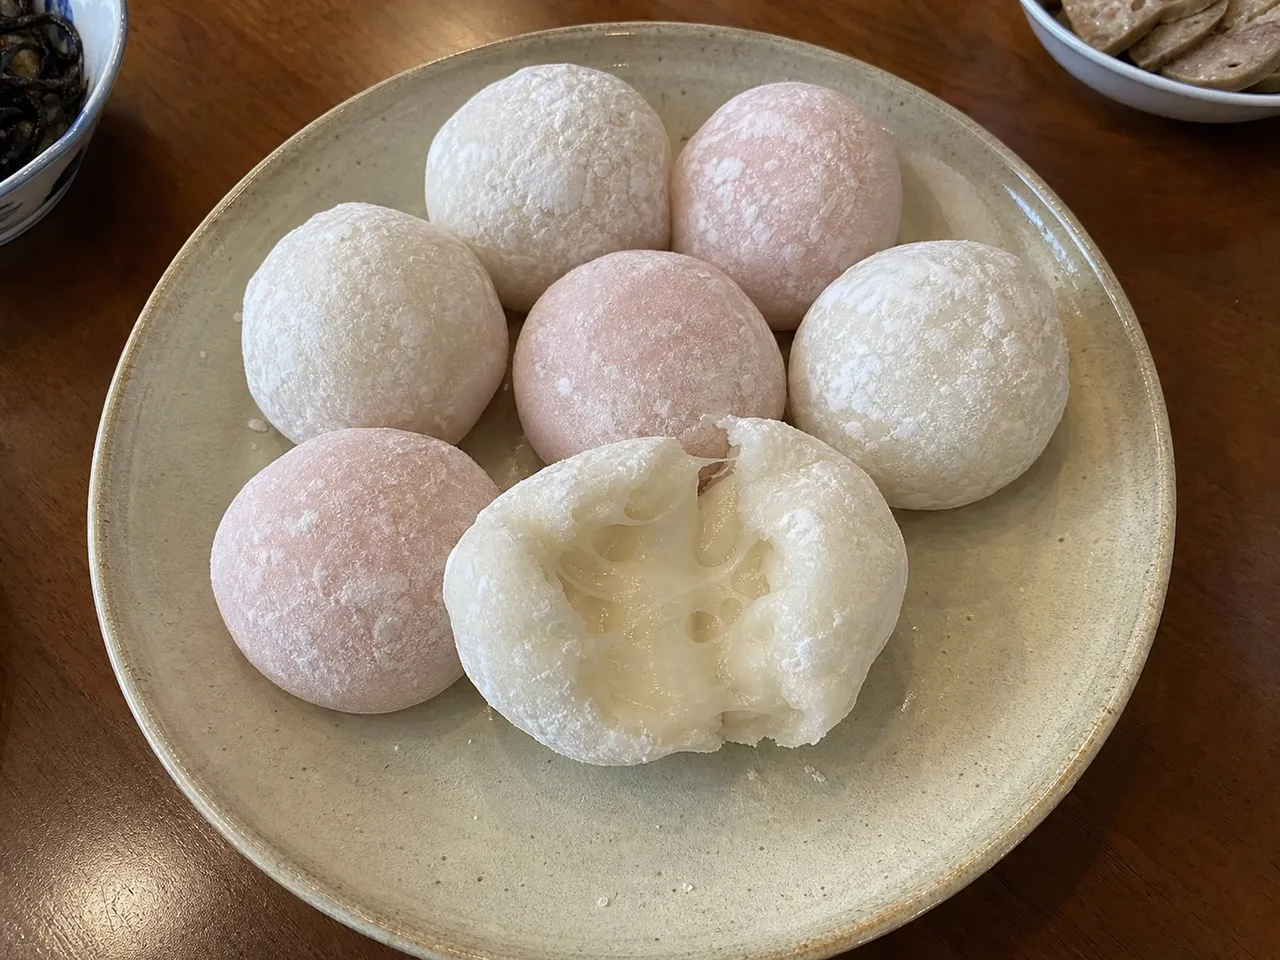 Serving Images are for illustrative purposes only, may be inaccurate, and do not guarantee the presence or absence of specific ingredients.
 Mochi
Chewy Japanese rice cakes made from sweet rice flour and sugar, cooked and dusted with potato starch to keep them from sticking.
No common allergens detected
Based on this recipe's ingredient list. Always verify with your own brands and labels.
Good to know
- Ready in under 30 minutes
Matched from this dish's own ingredients and timing. Browse more: 30-minute meals
Instructions
6 steps- 1
In a microwave-safe glass bowl, whisk the mochiko and sugar together. Gradually whisk in the water until a completely smooth, milky slurry forms.
- 2
Cover the bowl loosely with plastic wrap. Microwave on HIGH for 1 minute.
- 3
Remove and stir the mixture vigorously with a wet silicone spatula (it will be lumpy and partially cooked).
- 4
Cover and microwave again for another 1 minute. Stir vigorously again. The dough should now be sticky, cohesive, and slightly translucent. If there are still opaque white spots, microwave for 30 more seconds.
- 5
Dust a large cutting board generously with potato starch. Scrape the piping hot, sticky mochi onto the starchy surface.
- 6
Dust the top of the mochi and your hands heavily with starch. Flatten the dough gently, pinch off 2-inch pieces, and stretch the edges under to form smooth, round, pillowy balls.
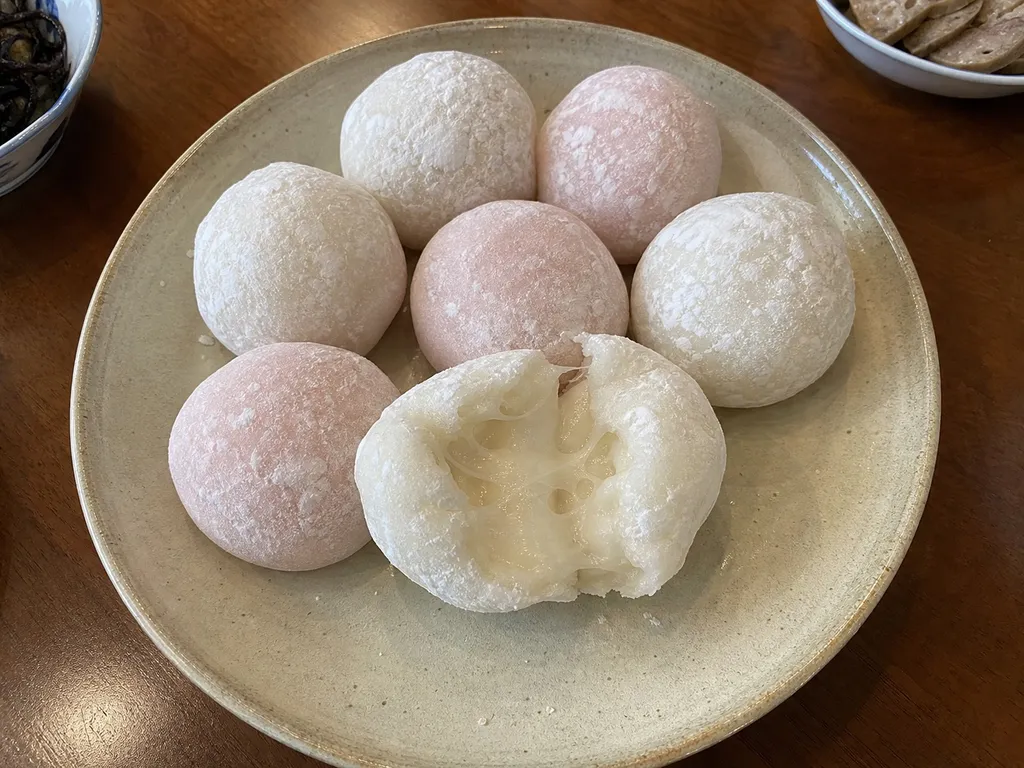 Images are for illustrative purposes only, may be inaccurate, and do not guarantee the presence or absence of specific ingredients.
 Listahan Family Score™
77/100
Good fit for most families
Score reflects how well this recipe fits a typical busy household. In the app, your Family Score is personalized to your household's allergens, kids, and pantry.
Nutrition
per serving55
Calories
0 g
Protein
14 g
Carbs
0 g
Fat
Estimated per serving. Actual values depend on the brands and portions you use.
Listahan cooking guide
Chef notes & practical guide
Technique notes, ingredient swaps, serve-alongside ideas, storage guidance, and equipment for this recipe.
Cultural context
Mochi is pounded glutinous rice, chewy and soft, eaten plain, filled, or in soups, and central to New Year celebrations. Traditionally made by pounding steamed rice in a wooden mortar, the home version uses sweet rice flour and a microwave to reach the same pillowy chew.
Listahan note
This version uses the quick microwave method with mochiko and walks through the heavy starch dusting that makes the sticky dough actually possible to shape by hand.
Technique cues
- Microwave in short bursts and stir hard between each; the dough cooks unevenly and needs the stirring to turn smooth and translucent.
- Dust the board, the dough, and your hands heavily with starch; undusted mochi is impossible to handle and sticks to everything.
- Shape it while piping hot; mochi firms quickly as it cools and becomes hard to stretch.
Kitchen flow
- Parallel prep
- Dust the board and set out the starch before you cook the dough; once it is hot you must work fast.
- Make-ahead
- Mochi is best the day it is made; it firms up overnight, though filled mochi can be made a few hours ahead.
- Leftover move
- Pan-toast or grill firm leftover mochi until it puffs and crisps, then dip in soy or wrap in nori.
- Cleanup rhythm
- The sticky bowl soaks clean easily in hot water; brush starch off the board before wiping.
Ingredient brief
Role, handling, and swap guidance for each key ingredient.
Mochiko (sweet rice flour)
The dough
Purpose: Glutinous rice flour is what gives mochi its signature stretchy, chewy texture.
Handling: Whisk into a smooth slurry with water and sugar before cooking.
Adaptation: Shiratamako is a finer glutinous rice flour that also works; regular rice flour will not give the chew.
Sugar
Sweetness and softness
Purpose: Sugar sweetens and keeps the mochi soft and pliable.
Handling: Whisk into the slurry so it dissolves evenly.
Adaptation: Adjust to taste; less sugar makes a more neutral mochi for savory uses.
Potato or corn starch
The essential dusting
Purpose: A heavy coating of starch is the only way to handle the sticky cooked dough.
Handling: Dust the board, the dough top, and your hands generously.
Adaptation: Either starch works; some use a little roasted soybean flour (kinako) for flavor.
Technique notes
- Stir vigorously between microwave bursts; this is what turns the lumpy slurry into smooth, cohesive mochi.
- Work hot and fast, since cooling mochi becomes stiff and tears instead of stretching.
- Eat mochi in small bites and chew well; large pieces can be a choking hazard, especially for children and older adults.
Ingredient swaps
- Filled direction
- Wrap each piece around a ball of sweet red bean paste or a strawberry for daifuku.
- Kinako direction
- Dust the finished mochi with roasted soybean flour and a little sugar instead of plain starch.
- Less-sweet direction
- Reduce the sugar for a more neutral mochi to use in soups or savory dishes.
Serve alongside
- Sweet red bean paste
- Fresh strawberries
- Kinako (roasted soybean flour)
- Green tea sweets
- Matcha
- Green tea
- Hojicha
Serving suggestions only — check pairings for your household's allergens.
Storage & reheating
- Keep at room temperature in an airtight container and eat the same day for the softest texture.
- Refrigeration hardens mochi quickly; let it come back to room temperature or toast it.
- Freeze plain mochi up to 1 month; thaw at room temperature or grill from frozen.
Equipment
- Microwave-safe glass bowl
- Wet silicone spatula
- Large cutting board
- Bench scraper
Make this household-aware
Listahan Pro checks this recipe against your household's allergens, finds pantry-aware swaps, builds the shopping list, and helps you plan the week around it.
Plan it in Listahan
Add Mochi to your week, check it against your household's allergens, and build the shopping list automatically.
More Japanese recipes
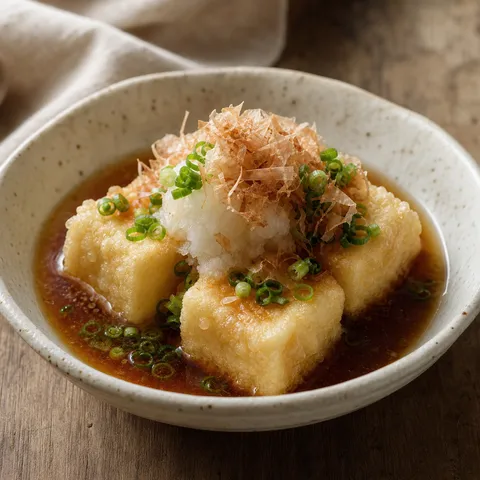 Japanese Lens Verified Images are for illustrative purposes only, may be inaccurate, and do not guarantee the presence or absence of specific ingredients.
 Agedashi Tofu
Lightly fried tofu dusted in potato starch and served in a warm dashi-soy-mirin broth, topped with grated daikon and bonito flakes, a classic Japanese izakaya starter.
 Japanese Lens Verified Images are for illustrative purposes only, may be inaccurate, and do not guarantee the presence or absence of specific ingredients.
 Katsu Curry
A Japanese recipe: Katsu Curry.
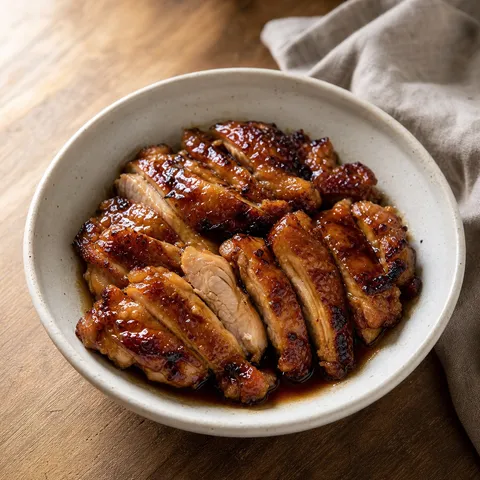 Japanese Lens Verified Images are for illustrative purposes only, may be inaccurate, and do not guarantee the presence or absence of specific ingredients.
 Chicken Teriyaki
Enjoy tender, juicy chicken glazed in a deeply flavorful, glossy sweet soy sauce, perfectly caramelized to sticky perfection.