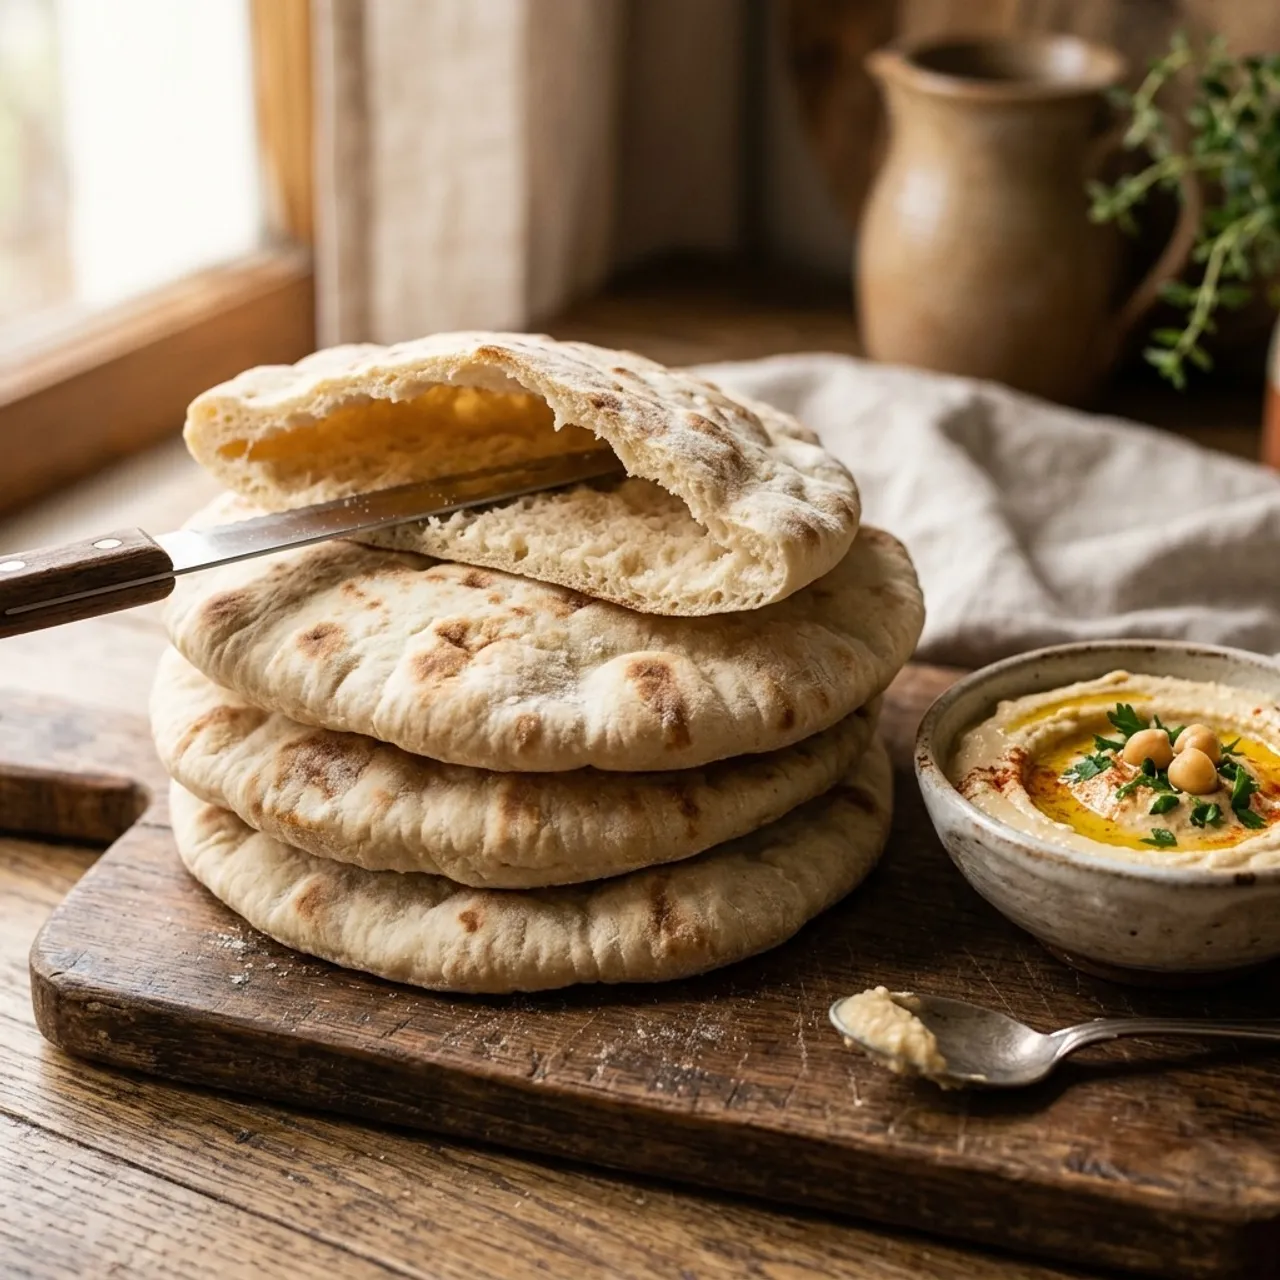
 Bakery Images are for illustrative purposes only, may be inaccurate, and do not guarantee the presence or absence of specific ingredients.
 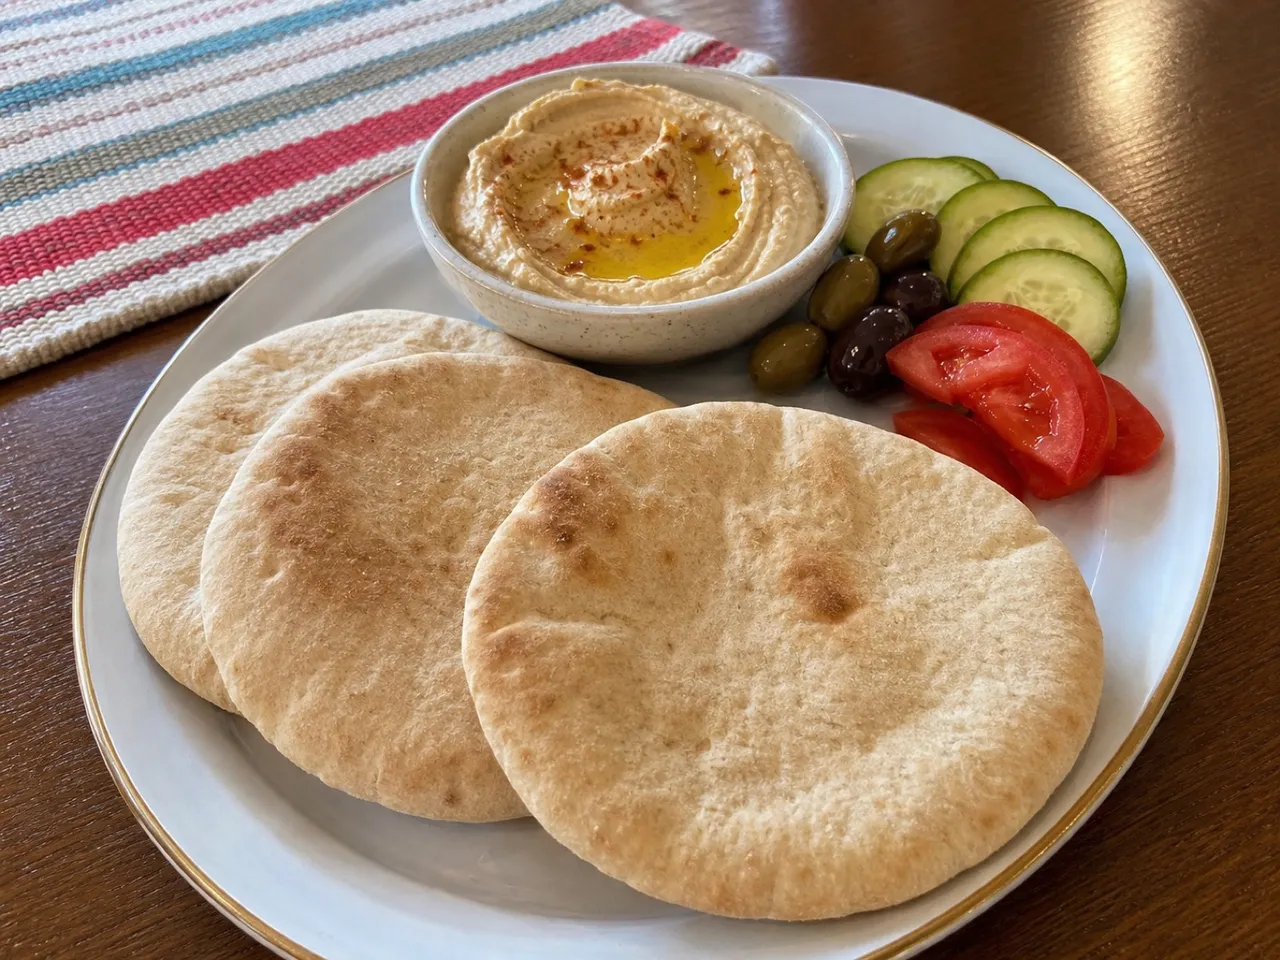 Serving Images are for illustrative purposes only, may be inaccurate, and do not guarantee the presence or absence of specific ingredients.
 Pita Bread
Soft, slightly leavened flatbread that puffs up to form a pocket.
Contains common allergens
In the app, Listahan checks these against your household automatically.
Instructions
6 steps- 1
In a mixing bowl, combine the warm water, yeast, and sugar. Let stand for 5 minutes until foamy.
- 2
Stir in the olive oil, salt, and 1 cup of the flour to form a batter. Gradually mix in the remaining flour until a soft dough forms.
- 3
Turn the dough onto a lightly floured surface and knead for 5-7 minutes until smooth and elastic. Place in a greased bowl, cover, and let rise for 1 hour until doubled in size.
- 4
Place a baking stone or a heavy inverted baking sheet in the oven and preheat to 500°F (260°C).
- 5
Gently deflate the dough and divide it into 8 equal pieces. Form each into a smooth ball. On a lightly floured surface, roll each ball out into a circle about 1/4-inch thick. Let the circles rest for 10 minutes.
- 6
Carefully transfer 2-3 dough circles at a time onto the hot baking stone. Bake for 3-5 minutes until they puff up completely like balloons. Remove from the oven and immediately wrap in a clean kitchen towel to keep them soft.
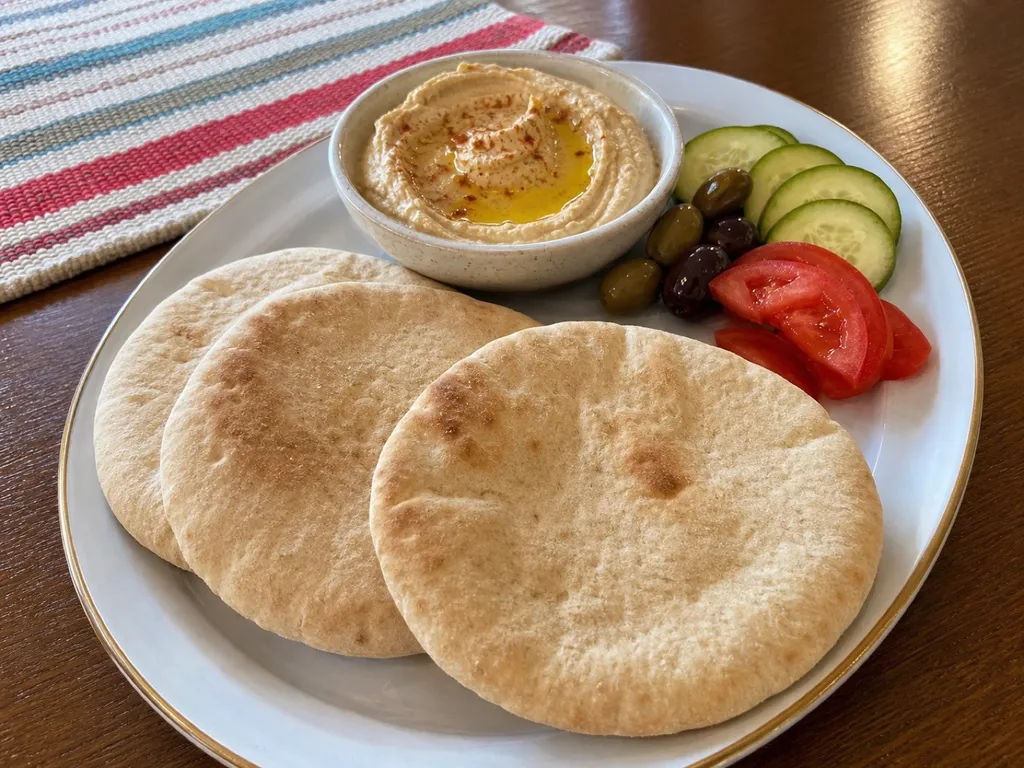 Images are for illustrative purposes only, may be inaccurate, and do not guarantee the presence or absence of specific ingredients.
 Listahan Family Score™
72/100
Good fit for most families
Score reflects how well this recipe fits a typical busy household. In the app, your Family Score is personalized to your household's allergens, kids, and pantry.
Nutrition
per serving190
Calories
5 g
Protein
36 g
Carbs
2 g
Fat
Estimated per serving. Actual values depend on the brands and portions you use.
Listahan cooking guide
Chef notes & practical guide
Technique notes, ingredient swaps, serve-alongside ideas, storage guidance, and equipment for this recipe.
Cultural context
Pita is one of the ancient flatbreads of the Middle East, with evidence of similar pocket-forming rounds baked in the Levant dating back thousands of years. The distinctive pocket is not a design choice but a result of chemistry: when a thin, well-hydrated round is placed on a very hot surface, steam from the interior forces the two layers apart and inflates the bread like a balloon, creating the pocket as it cools. This property made pita uniquely practical as an edible vessel. Today it is the everyday bread of much of the Arab world, Greece, and Turkey, found in forms ranging from paper-thin to thick and pillow-soft depending on the region.
Listahan note
This version focuses on maximizing pocket formation through two variables: a rested, well-hydrated dough and a screaming-hot baking surface, which is the difference between pita that puffs up completely and one that barely inflates.
Technique cues
- The baking surface -- whether a cast iron skillet, baking steel, or the bottom of a cast iron pan -- must be preheated for at least 30 minutes at maximum oven temperature; a lukewarm surface produces flat rounds with no pocket.
- Roll each round to exactly 1/4 inch thickness and no thinner; too thin and the walls cannot seal long enough for the steam to build, too thick and the steam cannot push the layers apart before the crust sets.
- Do not open the oven during baking; the steam that puffs the bread must accumulate inside the oven as well as inside the dough, and temperature drops from an opened door can deflate the pocket mid-bake.
Kitchen flow
- Parallel prep
- Place the baking stone or inverted cast iron pan in the oven to preheat while the rolled rounds rest on the counter for their 10-minute pre-bake rest.
- Make-ahead
- Pita dough can be made and refrigerated overnight for a slow cold rise; pull from the refrigerator 1 hour before rolling to bring to room temperature.
- Leftover move
- Stale pita cut into wedges, brushed with olive oil and za'atar, and baked at 375 F until crisp becomes excellent fattoush croutons or a dip chip for hummus.
- Cleanup rhythm
- Wipe down the hot baking surface between rounds with a folded dry towel to remove any char from the previous bread before placing the next one.
Ingredient brief
Role, handling, and swap guidance for each key ingredient.
all-purpose flour
dough structure and pocket walls
Purpose: All-purpose flour produces a dough extensible enough to inflate fully under steam pressure while still having enough structure to stay open as a pocket after cooling.
Handling: Measure by weight; a well-hydrated dough around 60 percent hydration is correct and will feel slightly tacky rather than smooth.
Adaptation: Bread flour produces a chewier pita with stronger pocket walls that hold their shape longer; reduce water by 1 tablespoon per cup of flour substituted.
instant yeast
leavening and dough relaxation
Purpose: Yeast leavening makes the dough extensible enough to inflate from the steam pressure; an unleavened dough is too stiff and simply cracks rather than puffing.
Handling: Mix into the flour before adding water; resting the dough at least 1 hour allows gluten to relax enough that the rounds can be rolled thin without springing back.
Adaptation: A small amount of sourdough starter (50 grams per 300 grams of flour) produces a tangy pita with slightly more complex flavor; increase bulk fermentation time to 3 to 4 hours.
olive oil
tenderness and flavor
Purpose: A small amount of olive oil tenderizes the dough and keeps the finished pita supple and pliable rather than brittle or papery at the edges.
Handling: Add to the dough after the flour and water have come together; mixing oil in from the start can coat the flour particles and inhibit gluten development.
Adaptation: Any neutral oil works; olive oil contributes a subtle Mediterranean flavor note that is pleasant but not essential.
fine sea salt
flavor and dough strength
Purpose: Salt tightens the gluten network in the pita dough so the rounds hold their shape during rolling and develop enough surface tension to seal the two layers briefly before steam pressure opens them.
Handling: Dissolve in the water before adding to the flour to distribute evenly; undissolved salt crystals can create dense spots in the dough.
Adaptation: Kosher salt at the same weight works identically; do not use iodized table salt, which can interfere with yeast activity.
Technique notes
- Transfer rolled rounds to the hot surface using a peel or the back of a sheet pan in a single confident sliding motion; hesitation deposits the dough unevenly and prevents an even puff.
- If the pita does not fully puff, it is still good bread -- flat pita can be used as a wrap or cut into wedges for dipping without affecting the eating experience.
- Store baked pitas stacked and covered with a clean kitchen towel for 10 minutes after baking; the trapped steam softens the crust and makes the pita flexible enough to fold without cracking.
Ingredient swaps
- Whole wheat direction
- Replace half the all-purpose flour with whole wheat; the pocket may not inflate as dramatically but the flavor is significantly more complex and nutty.
- Gluten-free direction
- A gluten-free pita will not form a true pocket due to the absence of gluten; use a cassava flour-based tortilla recipe instead for a similar thin flatbread experience.
- Lower-sodium direction
- Reduce salt by half; pita has a mild flavor profile and stands up to the reduction without tasting flat because it is typically served with heavily seasoned fillings.
Serve alongside
- Hummus with olive oil and paprika
- Tabbouleh
- Baba ganoush
- Mint lemonade
- Ayran (yogurt drink)
- Light pilsner
Serving suggestions only — check pairings for your household's allergens.
Storage & reheating
- Store cooled pitas stacked in a zip bag at room temperature for up to 3 days; they dry out in the refrigerator. Freeze in zip bags with parchment between rounds for up to 2 months; thaw at room temperature or warm briefly in a dry skillet.
Equipment
- Baking stone, baking steel, or inverted cast iron pan for the oven
- Rolling pin
- Bench scraper for portioning
- Peel or sheet pan back for oven transfer
Make this household-aware
Listahan Pro checks this recipe against your household's allergens, finds pantry-aware swaps, builds the shopping list, and helps you plan the week around it.
Plan it in Listahan
Add Pita Bread to your week, check it against your household's allergens, and build the shopping list automatically.
More Bakery recipes
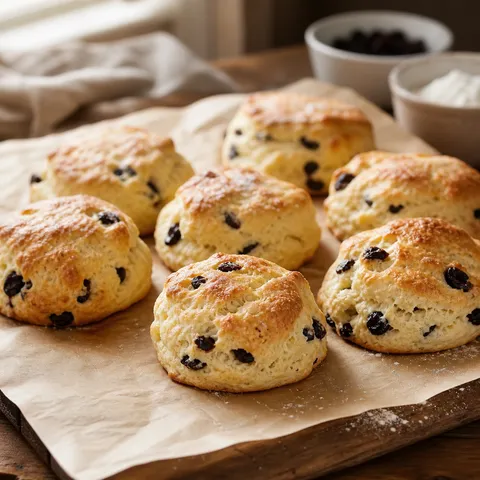 Bakery Lens Verified Images are for illustrative purposes only, may be inaccurate, and do not guarantee the presence or absence of specific ingredients.
 Scones
Flaky and buttery British baked goods, often with currants or berries.
 Bakery Lens Verified Images are for illustrative purposes only, may be inaccurate, and do not guarantee the presence or absence of specific ingredients.
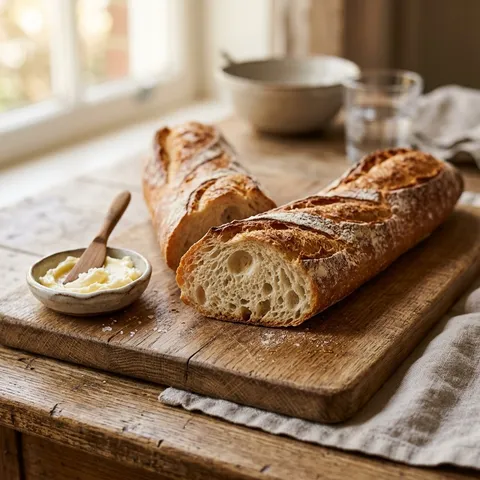
 French Baguette
Savor the authentic crunch of this rustic French baguette, featuring a beautifully crackling golden crust and a soft, airy, and utterly irresistible crumb.
 Bakery Lens Verified Images are for illustrative purposes only, may be inaccurate, and do not guarantee the presence or absence of specific ingredients.
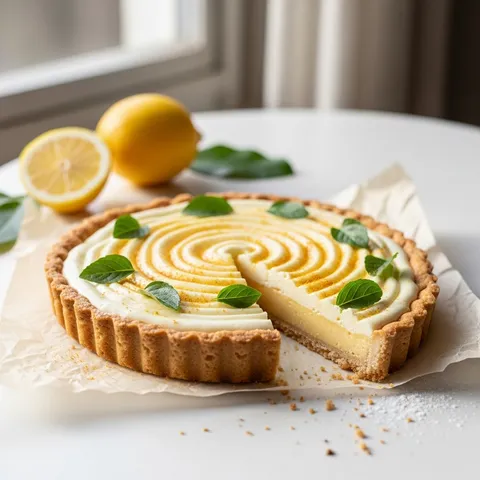
 Lemon Tart
Brighten your dessert spread with this elegant lemon tart, perfectly balancing a brilliantly zesty, silky-smooth lemon curd inside a crisp and buttery sweet pastry shell.