 Desserts Images are for illustrative purposes only, may be inaccurate, and do not guarantee the presence or absence of specific ingredients.
  Serving Images are for illustrative purposes only, may be inaccurate, and do not guarantee the presence or absence of specific ingredients.
 Light Easy Crisp
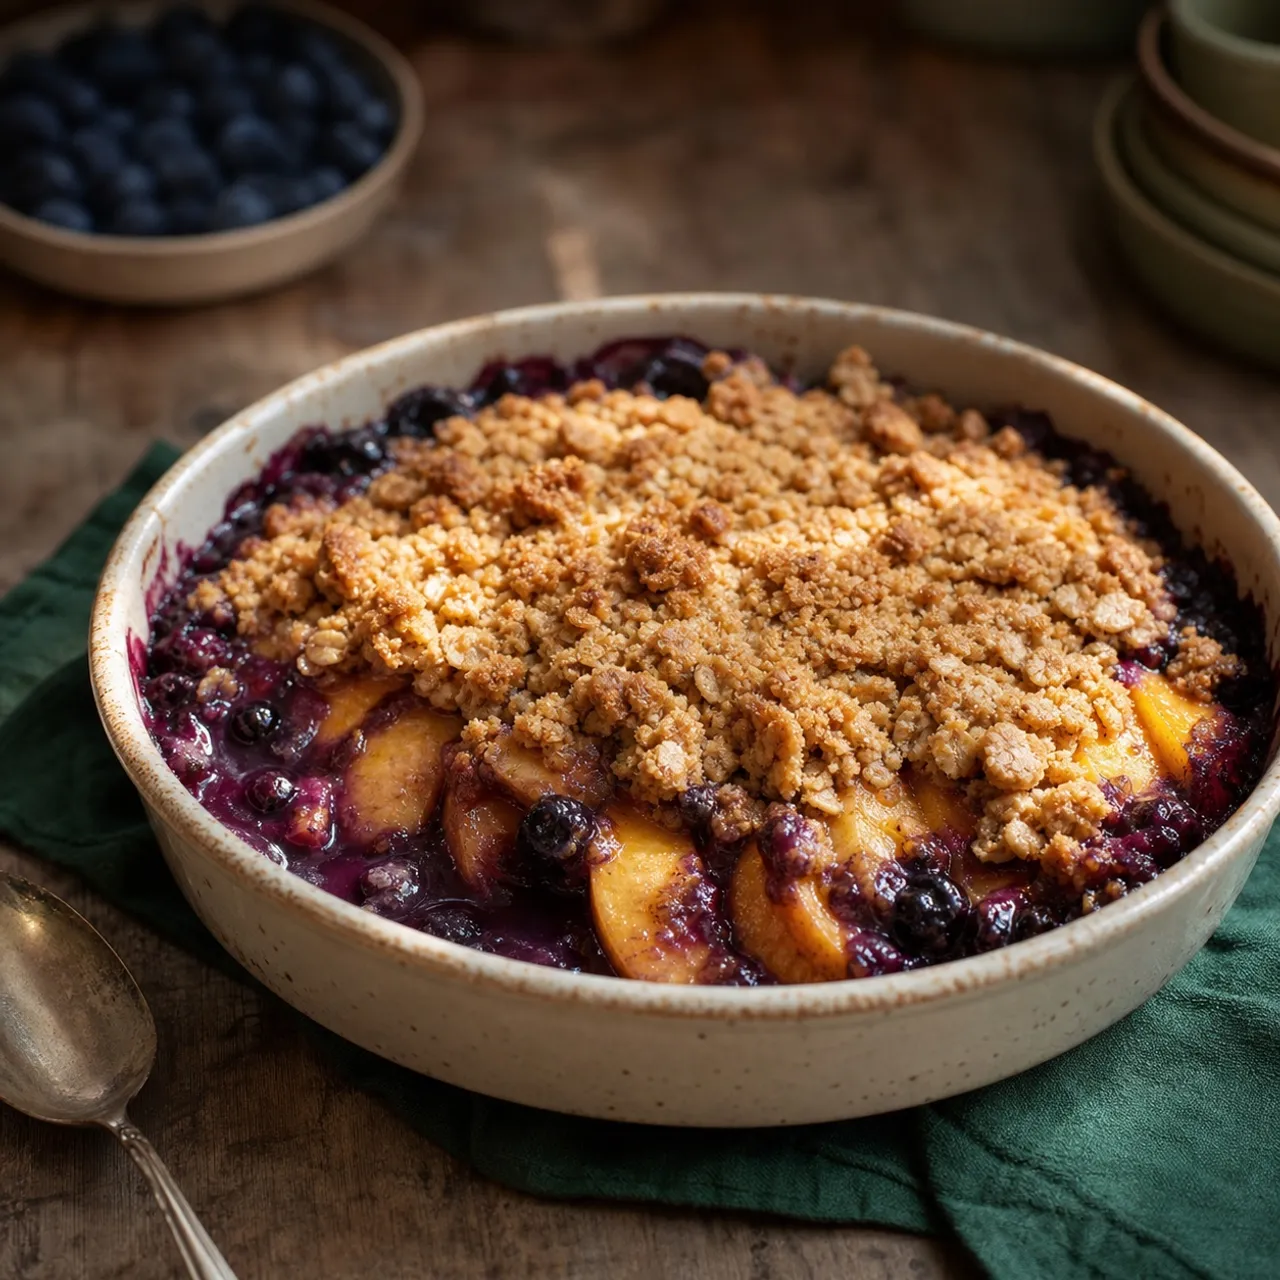
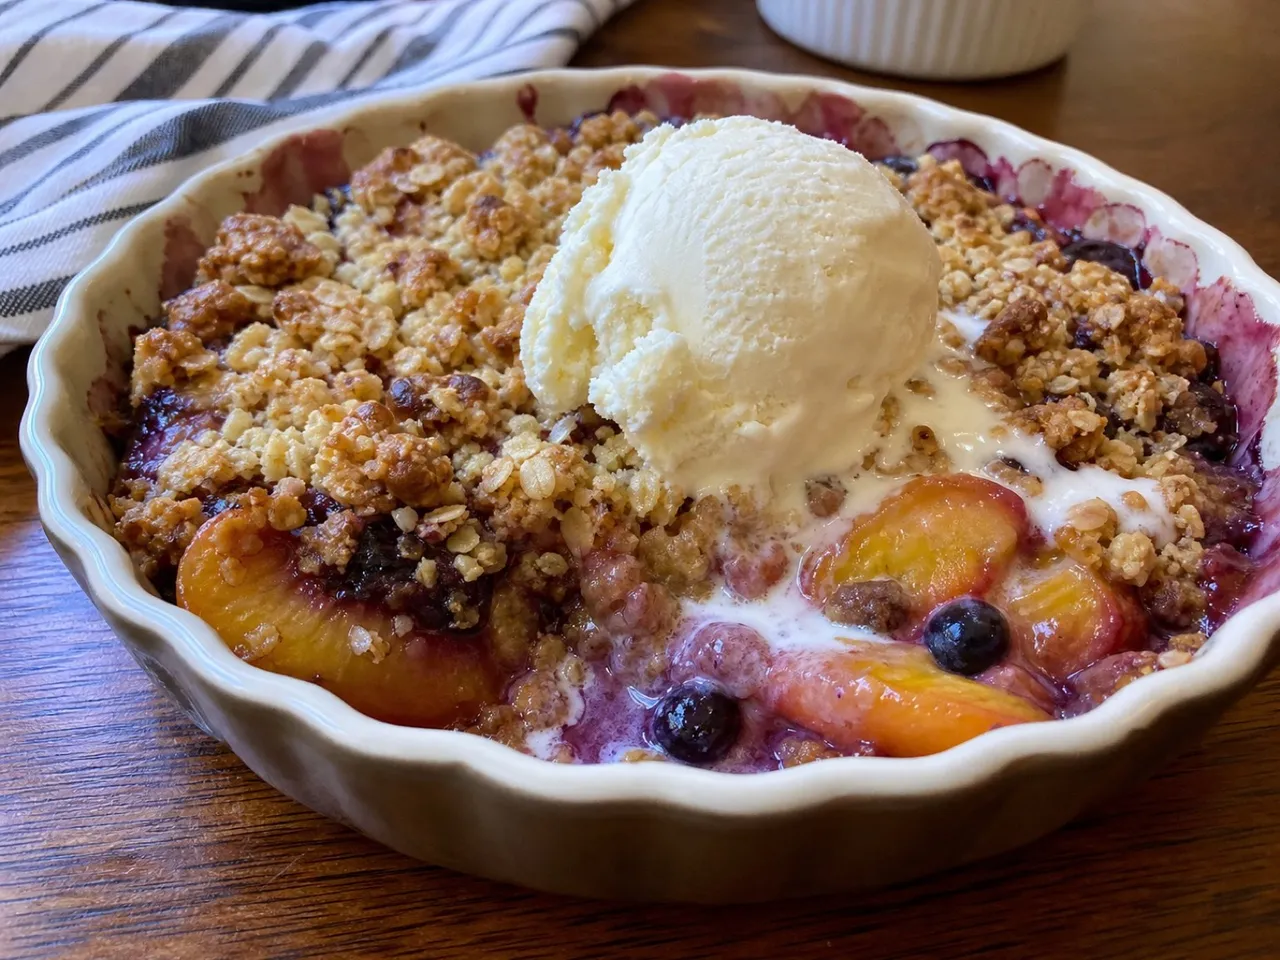
A lighter fruit crisp of peaches or apples topped with a buttery oat-and-brown-sugar crumble.
Contains common allergens
In the app, Listahan checks these against your household automatically.
Good to know
- Crispy
Matched from this dish's own ingredients and timing. Browse more: crispy recipes
Instructions
5 steps- 1
Preheat the oven to 350°F (175°C). Peel and core the apples if using, then cut the peaches or apples into 1/2-inch wedges and place them in a large bowl.
- 2
Sprinkle the fruit with the cinnamon and toss until evenly coated. If using peaches, gently mix in the fresh and frozen blueberries (blueberries will turn apples gray, so omit them if using apples). Press the fruit down firmly into a 9-inch pie plate.
- 3
In a medium bowl, stir together the flour, rolled oats, and brown sugar. Slowly add the butter, working it in with a fork until the mixture is crumbly.
- 4
Carefully mound the crumble topping over the fruit and gently press it into the surface.
- 5
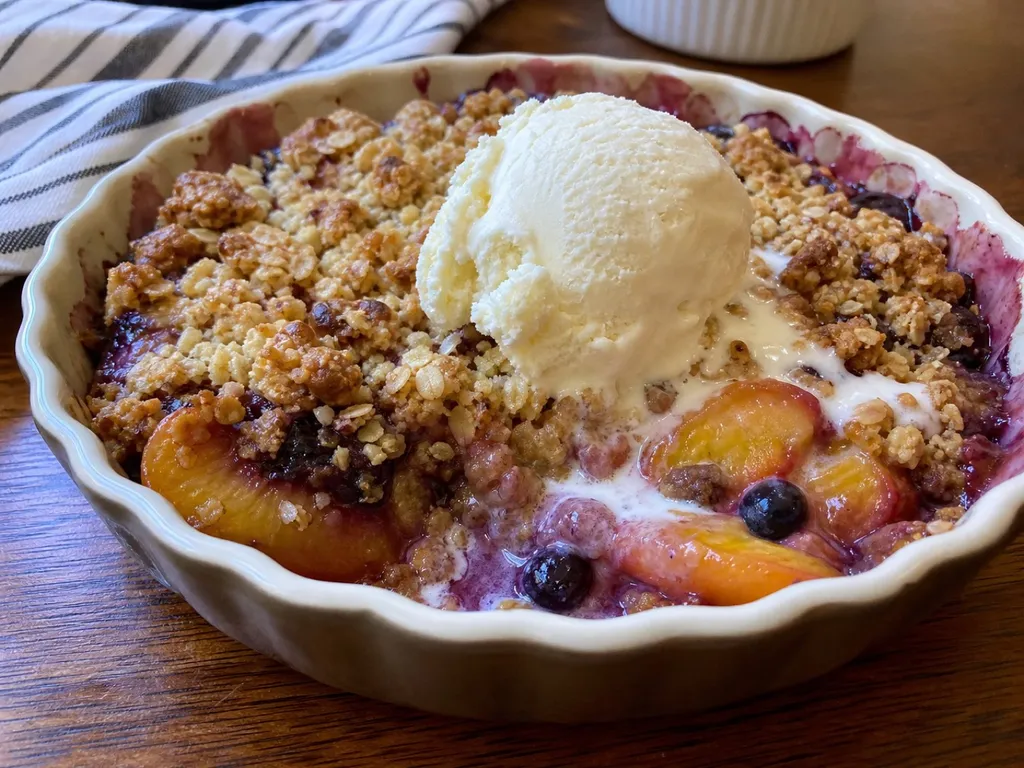
Bake in the center of the oven for 60 to 70 minutes, or until the fruit is tender when pierced with a skewer and the topping is golden. Serve warm with ice cream or yogurt.
 Images are for illustrative purposes only, may be inaccurate, and do not guarantee the presence or absence of specific ingredients.
 Listahan Family Score™
68/100
Works for many families
Score reflects how well this recipe fits a typical busy household. In the app, your Family Score is personalized to your household's allergens, kids, and pantry.
Nutrition
per serving295
Calories
4 g
Protein
54 g
Carbs
9 g
Fat
Estimated per serving. Actual values depend on the brands and portions you use.
Listahan cooking guide
Chef notes & practical guide
Technique notes, ingredient swaps, serve-alongside ideas, storage guidance, and equipment for this recipe.
Cultural context
Fruit crisps and crumbles have their origins in British wartime baking during the 1940s, when pastry rationing made traditional pies difficult to produce; oats and flour baked over stewed fruit required far less butter. The format was enthusiastically adopted in North American home baking and became one of the most practical summer and fall desserts, built around whatever stone fruit or berries were in season. The term 'crisp' in North America generally refers to a crumble topping that includes rolled oats, as opposed to a 'crumble' which is simply flour, sugar, and fat; the oats are what create the signature crunchy, granola-like top.
Listahan note
This version is lighter than a classic crisp because it uses a modest amount of butter in the topping and relies on the blueberries -- both fresh and frozen -- to provide enough juice to keep the fruit layer saucy without added sugar.
Technique cues
- Using both fresh and frozen blueberries is intentional -- the frozen berries release liquid as they bake to form a sauce, while fresh berries hold their shape and burst with concentrated flavor; all-fresh produces a drier result and all-frozen produces a looser, more jam-like one.
- The topping should be crumbled loosely over the fruit without pressing it down -- a packed topping steams rather than crisps, and the goal is a rough, craggy surface with good air circulation to allow browning.
- Crisps are done when the topping is deep golden brown and the fruit is actively bubbling around the edges, not just in the center; bubbling at the edges means the interior temperature is high enough to have set the fruit juices.
Kitchen flow
- Parallel prep
- Mix the topping ingredients first and refrigerate while you prepare and layer the fruit so the butter stays cold until baking.
- Make-ahead
- Assemble up to 6 hours ahead and refrigerate unbaked; add 5 minutes to the baking time if going straight from the refrigerator to the oven.
- Leftover move
- Serve leftover crisp with yogurt for breakfast the next day; reheat individual portions at 350 F for 8 minutes to refresh the topping's crunch.
- Cleanup rhythm
- Bake in the same dish you will serve from to minimize cleanup; line the exterior of the pan with foil to catch any fruit bubble-over.
Ingredient brief
Role, handling, and swap guidance for each key ingredient.
4 cups sliced peaches or apples
primary fruit base
Purpose: The main bulk of the filling provides the tart-sweet fruit flavor and releases juice during baking to create the saucy layer beneath the topping.
Handling: Peel and slice to roughly 1/2-inch pieces for peaches; apples need to be slightly thinner (about 1/4 inch) since they take longer to soften.
Adaptation: Pears, nectarines, or a mix of stone fruits all work; keep the total quantity at 4 cups for the fruit-to-topping ratio to hold.
1/2 cup fresh blueberries
texture contrast in fruit layer
Purpose: Fresh blueberries hold their shape during baking and burst to release concentrated juice, adding pockets of intense flavor alongside the primary fruit.
Handling: Rinse and dry; no other preparation needed.
Adaptation: Fresh raspberries or blackberries work as direct substitutes; add a small pinch of sugar if using raspberries as they are more tart.
1 cup frozen blueberries
sauce and moisture in fruit layer
Purpose: Frozen berries release more liquid than fresh as they thaw and cook, creating the saucy, slightly syrupy base that keeps the fruit layer from being dry.
Handling: Add frozen directly to the baking dish; do not thaw first.
Adaptation: Frozen raspberries, strawberries, or mixed berries can substitute; the sauce color and flavor will shift but the technique works identically.
3/4 cup rolled oats
crisp topping texture
Purpose: Oats give the topping its characteristic crunchy, granola-like texture that distinguishes a crisp from a simple flour crumble.
Handling: Use old-fashioned rolled oats; instant oats absorb the butter too quickly and produce a gummy, soft topping rather than a crisp one.
Adaptation: For a gluten-free version, use certified GF rolled oats; the texture is identical.
1/4 cup butter
fat and browning in topping
Purpose: Cold butter worked into the flour and oat topping creates pockets of fat that melt during baking, promoting browning and a crisp rather than cakey texture.
Handling: Cut into small cubes and work into the flour-oat mixture with fingertips until it resembles coarse crumbs with some pea-sized chunks.
Adaptation: Vegan stick butter works as a dairy-free substitute; coconut oil (solid) can also substitute but produces a slightly different flavor and texture.
Technique notes
- Toss the fruit layer with 1 teaspoon of cornstarch before adding the topping if you prefer a thicker sauce rather than a runny fruit base; the starch thickens the released juices into a light glaze.
- For maximum crunch, bake on the upper-middle oven rack where heat concentrates at the top; broiling for the final 2 minutes produces a deeply golden, extra-crisp surface.
- Serve within 2 hours of baking for the best topping texture -- the crisp topping absorbs moisture from the fruit as it sits and softens significantly by the next morning.
Ingredient swaps
- Gluten-free direction
- Replace all-purpose flour with certified GF oat flour or a 1:1 GF baking blend and use certified GF rolled oats; the rest of the recipe is naturally gluten-free.
- Dairy-free and vegan direction
- Replace butter with solid coconut oil or vegan stick butter in equal quantity; the topping will be slightly firmer but will still crisp.
- Lower sugar option
- Reduce brown sugar in the topping by half and rely on the natural sweetness of the fruit; works best with ripe summer peaches or sweet apples.
Serve alongside
- vanilla bean ice cream
- lightly sweetened whipped cream with a pinch of nutmeg
- plain Greek yogurt with a drizzle of honey
- iced herbal tea with lemon
- Moscato d'Asti or light sparkling wine
- cold glass of whole milk
Serving suggestions only — check pairings for your household's allergens.
Storage & reheating
- Store covered at room temperature for up to 1 day; the topping stays crisper at room temperature than refrigerated.
- Refrigerate after day 1 for up to 3 more days; the topping softens but reheats well at 350 F for 10 minutes.
- Reheat individual servings at 350 F rather than in the microwave to restore some crunch to the topping.
Equipment
- 8x8 or 9x9 inch baking dish
- mixing bowl for topping
- pastry cutter or fingertips for working in butter
- aluminum foil for the oven rack below
Make this household-aware
Listahan Pro checks this recipe against your household's allergens, finds pantry-aware swaps, builds the shopping list, and helps you plan the week around it.
Plan it in Listahan
Add Light Easy Crisp to your week, check it against your household's allergens, and build the shopping list automatically.
More Desserts recipes
 Desserts Lens Verified Images are for illustrative purposes only, may be inaccurate, and do not guarantee the presence or absence of specific ingredients.
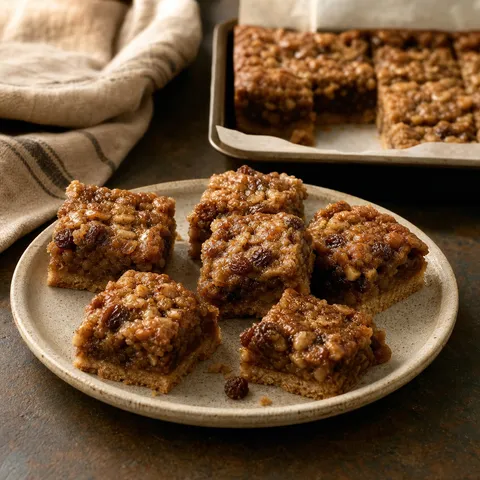
 Buttertart Squares
Chewy butter tart squares with a shortbread base and a gooey brown sugar, raisin, and walnut topping.
 Desserts Lens Verified Images are for illustrative purposes only, may be inaccurate, and do not guarantee the presence or absence of specific ingredients.
 Amber and Zach's Kisses
Light, crisp meringue kisses that melt in your mouth and make a pretty edible decoration.
 Desserts Lens Verified Images are for illustrative purposes only, may be inaccurate, and do not guarantee the presence or absence of specific ingredients.
 Passover Flourless Chocolate Cake
A rich, dense flourless chocolate cake with no flour, matzo meal, or leavening — a naturally kosher-for-Passover dessert perfect for the seder table.