 North American Images are for illustrative purposes only, may be inaccurate, and do not guarantee the presence or absence of specific ingredients.
 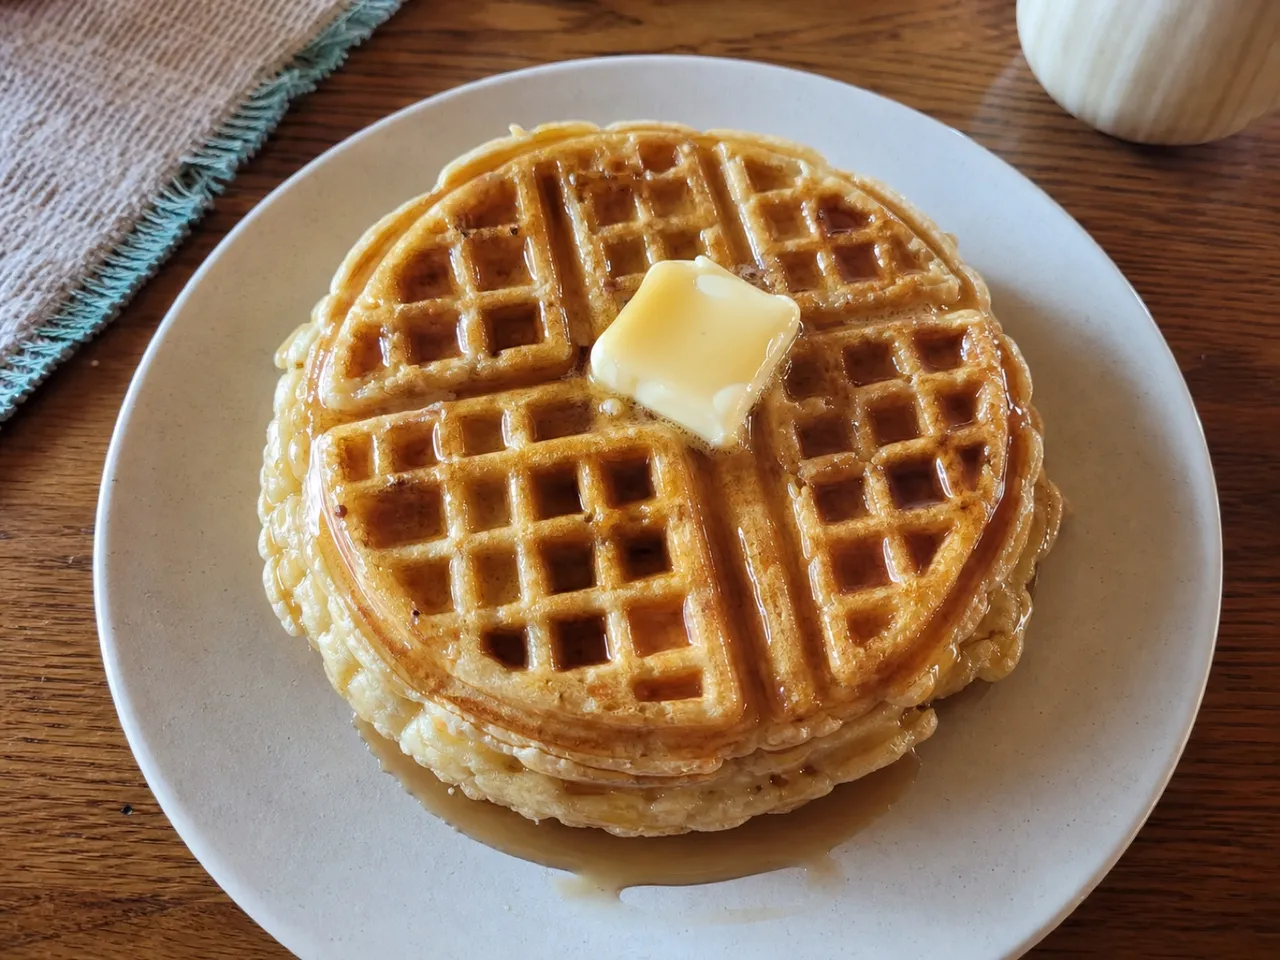 Serving Images are for illustrative purposes only, may be inaccurate, and do not guarantee the presence or absence of specific ingredients.
 Waffles
A dish made from leavened batter cooked between two hot, patterned plates.
Contains common allergens
In the app, Listahan checks these against your household automatically.
Good to know
- Crispy
- Ready in under 30 minutes
Matched from this dish's own ingredients and timing. Browse more: crispy recipes30-minute meals
Instructions
6 steps- 1
Preheat your waffle iron according to the manufacturer's settings.
- 2
In a large bowl, whisk together the flour, sugar, baking powder, and salt. Make a well in the center.
- 3
In a separate bowl, whisk the milk, egg yolks, melted butter, and vanilla. Pour this wet mixture into the dry ingredients and stir until just combined (some lumps are fine).
- 4
In a clean glass or metal bowl, aggressively beat the egg whites until stiff peaks form. Gently fold the egg whites into the batter in two additions. This is the secret to a crispy exterior and fluffy interior.
- 5
Ladle the batter onto the hot waffle iron, spreading it close to the edges. Close the lid.
- 6
Cook for 4-5 minutes until the waffle iron stops steaming and the waffles are deep golden brown and crisp. Serve hot with butter and warm maple syrup.
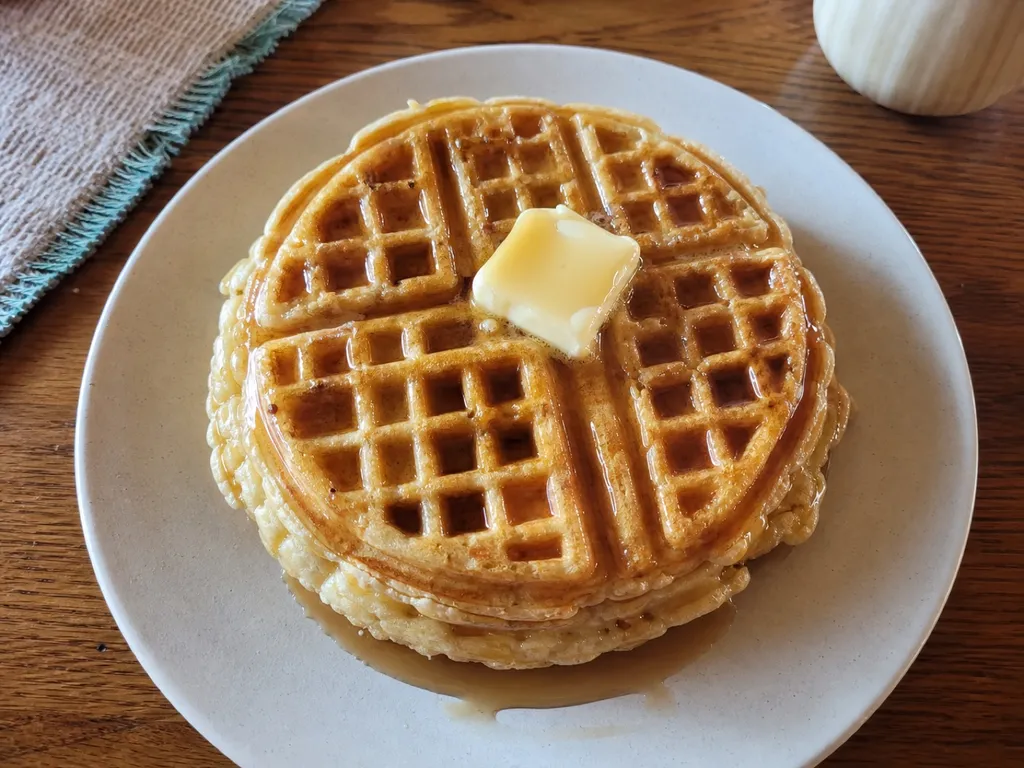 Images are for illustrative purposes only, may be inaccurate, and do not guarantee the presence or absence of specific ingredients.
 Listahan Family Score™
80/100
Good fit for most families
Score reflects how well this recipe fits a typical busy household. In the app, your Family Score is personalized to your household's allergens, kids, and pantry.
Nutrition
per serving560
Calories
13 g
Protein
60 g
Carbs
30 g
Fat
Estimated per serving. Actual values depend on the brands and portions you use.
Listahan cooking guide
Chef notes & practical guide
Technique notes, ingredient swaps, serve-alongside ideas, storage guidance, and equipment for this recipe.
Cultural context
Waffles have Belgian and Dutch origins dating to medieval Europe, where batter was pressed between iron plates over open fires. Dutch settlers brought waffle irons to America in the 17th century, and Thomas Jefferson is often credited with popularizing them after returning from France with a French waffle iron. The American waffle diverged from the Belgian version over the 19th and 20th centuries, becoming lighter, crispier, and thinner; the Belgian waffle with its deeper pockets arrived at the 1964 World's Fair in New York and created a distinct American association between 'Belgian waffle' and a thicker, crispier dessert-style version.
Listahan note
This version separates the eggs and whips the whites to stiff peaks before folding them in, which is the step that produces a waffle with a crispy exterior and a genuinely light, airy interior rather than a dense pancake-like crumb.
Technique cues
- Whipping the egg whites to stiff peaks and folding them gently into the batter at the very end is the key technique; stirring them in vigorously deflates the air bubbles that create the light texture.
- Melted butter that has been cooled to just above room temperature is essential; hot melted butter poured into a batter with eggs will begin cooking the eggs and create lumps.
- Do not open the waffle iron during the first 2 minutes of cooking; steam needs to build and then release before the waffle can release from the grid cleanly.
Kitchen flow
- Parallel prep
- Preheat the waffle iron while separating the eggs; by the time the batter is ready, the iron will be fully hot.
- Make-ahead
- Batter can be made the night before without whipping the whites; whip and fold the whites in the morning just before cooking.
- Leftover move
- Cool leftover waffles completely on a wire rack, then freeze in a single layer; reheat in a toaster for a crispy result that is better than reheating in a microwave.
- Cleanup rhythm
- Wipe the waffle iron with a damp cloth while still warm (not hot); dried batter baked onto iron plates is much harder to remove once fully cool.
Ingredient brief
Role, handling, and swap guidance for each key ingredient.
all-purpose flour
Structural base
Purpose: All-purpose flour provides enough gluten structure to hold the waffle together while allowing the whipped whites to create lift.
Handling: Whisk with the dry ingredients before making the well; sifting is not necessary but removes any lumps that might survive the wet-ingredient mixing.
Adaptation: A 50/50 mix of all-purpose and whole wheat flour adds a slightly nutty flavor; gluten-free 1:1 baking flour works but produces a denser waffle.
eggs (yolks and whites separated)
Emulsifier (yolks) and leavening (whites)
Purpose: Separating the eggs allows the whites to be whipped into a foam that physically lifts the batter from within, creating a crisper exterior and lighter crumb than baking powder alone.
Handling: Make sure the bowl and whisk are completely clean and free of fat before whipping the whites; any trace of yolk or grease prevents the foam from forming.
Adaptation: Using whole eggs (not separated) produces a perfectly edible waffle with a denser, more pancake-like interior; skip the whipping step entirely in that case.
unsalted butter (melted and cooled)
Fat and flavor
Purpose: Butter adds the richness and flavor that makes waffles taste like a treat rather than a plain breakfast starch.
Handling: Melt and set aside to cool for at least 5 minutes before adding to the batter; a temperature below 120 degrees F is safe for the eggs.
Adaptation: Neutral vegetable oil works in the same quantity for a dairy-free version; the waffle will be slightly less flavorful but still crispy.
baking powder
Chemical leavening
Purpose: Baking powder provides the initial rise before the waffle iron heat takes over, working in combination with the whipped whites for a two-stage lift.
Handling: Whisk evenly into the flour before adding wet ingredients to ensure even distribution; pockets of baking powder produce uneven browning.
Adaptation: If baking powder is unavailable, use 1/4 teaspoon baking soda plus 1/2 teaspoon cream of tartar as a direct substitute in the same application.
whole milk
Liquid base and fat carrier
Purpose: Whole milk's fat content contributes to browning and a slightly richer crumb compared to lower-fat milks.
Handling: Bring to room temperature before mixing; cold milk can cause the melted butter to resolidify and create lumps in the batter.
Adaptation: Buttermilk in the same quantity adds a pleasant tang and slightly more tenderness; reduce baking powder by 25% and add 1/4 teaspoon baking soda.
Technique notes
- A waffle is done when steam from the iron slows or stops, not when the timer beeps; different iron designs have different timing, and steam is the universal signal.
- Pour the batter slightly less than the manufacturer's fill line; the whipped whites cause the batter to expand significantly, and overfilling causes overflow.
- Serve waffles directly from the iron onto a wire rack rather than stacking them on a plate; stacking traps steam and immediately softens the crust.
Ingredient swaps
- Gluten-free direction
- Use a certified gluten-free 1:1 baking flour blend in the same quantity; the texture will be slightly denser but the technique remains the same.
- Dairy-free option
- Replace whole milk with full-fat oat milk and use melted coconut oil or vegan butter in place of dairy butter; the waffles brown slightly differently but remain crispy.
- Savory direction
- Omit the sugar and vanilla, add a pinch of cayenne and black pepper, and serve with fried chicken for a classic American sweet-savory combination.
Serve alongside
- Fresh berries or sliced peaches with a little sugar
- Crispy bacon strips or breakfast sausage links
- Whipped cream or creme fraiche as a topping
- Fresh-squeezed orange juice
- Strong drip coffee or cafe au lait
- Cold whole milk for a classic breakfast pairing
Serving suggestions only — check pairings for your household's allergens.
Storage & reheating
- Cool completely on a wire rack, then freeze in a single layer before transferring to a zip bag; store up to 2 months.
- Reheat frozen waffles in a toaster or toaster oven at medium setting for 2-3 minutes; they emerge nearly as crispy as fresh.
- Refrigerating waffles makes them soft and is not recommended; freeze immediately if they will not be eaten within the hour.
Equipment
- Belgian or classic waffle iron (preheated fully before use)
- Stand mixer or hand mixer with whisk attachment for whipping egg whites
- Large rubber spatula for folding whites into batter without deflating
- Wire rack for resting waffles out of the iron
Make this household-aware
Listahan Pro checks this recipe against your household's allergens, finds pantry-aware swaps, builds the shopping list, and helps you plan the week around it.
Plan it in Listahan
Add Waffles to your week, check it against your household's allergens, and build the shopping list automatically.
More North American recipes
 North American Lens Verified Images are for illustrative purposes only, may be inaccurate, and do not guarantee the presence or absence of specific ingredients.
 Soft Pretzels
Chewy golden mall-style pretzels with a salty crust, brushed in butter.
 North American Lens Verified Images are for illustrative purposes only, may be inaccurate, and do not guarantee the presence or absence of specific ingredients.
 Gumbo
A Louisiana-style gumbo of chicken thighs and Andouille sausage simmered with okra, the Cajun holy trinity, and a dark roux, served over rice.
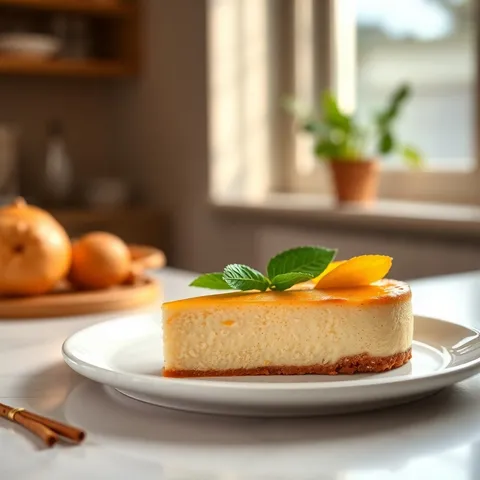 North American Lens Verified Images are for illustrative purposes only, may be inaccurate, and do not guarantee the presence or absence of specific ingredients.
 New York Cheesecake
A dense, ultra-creamy baked cheesecake with a buttery graham cracker crust and a faintly tangy, melt-in-your-mouth filling.