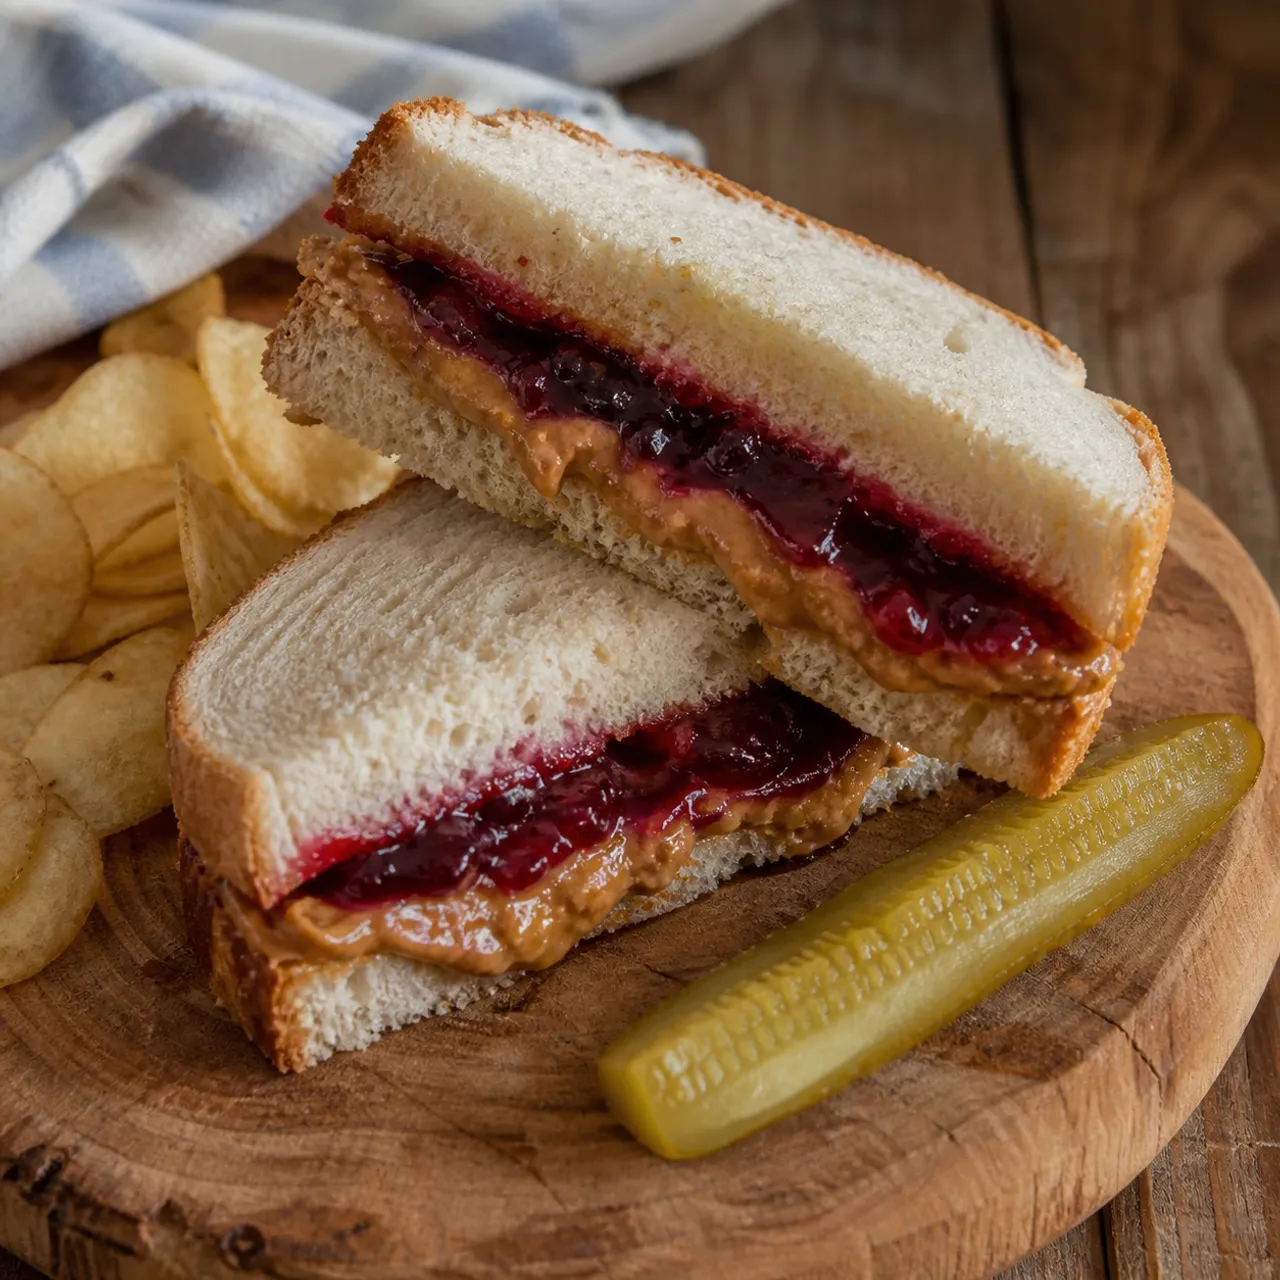
 Sandwiches Images are for illustrative purposes only, may be inaccurate, and do not guarantee the presence or absence of specific ingredients.
 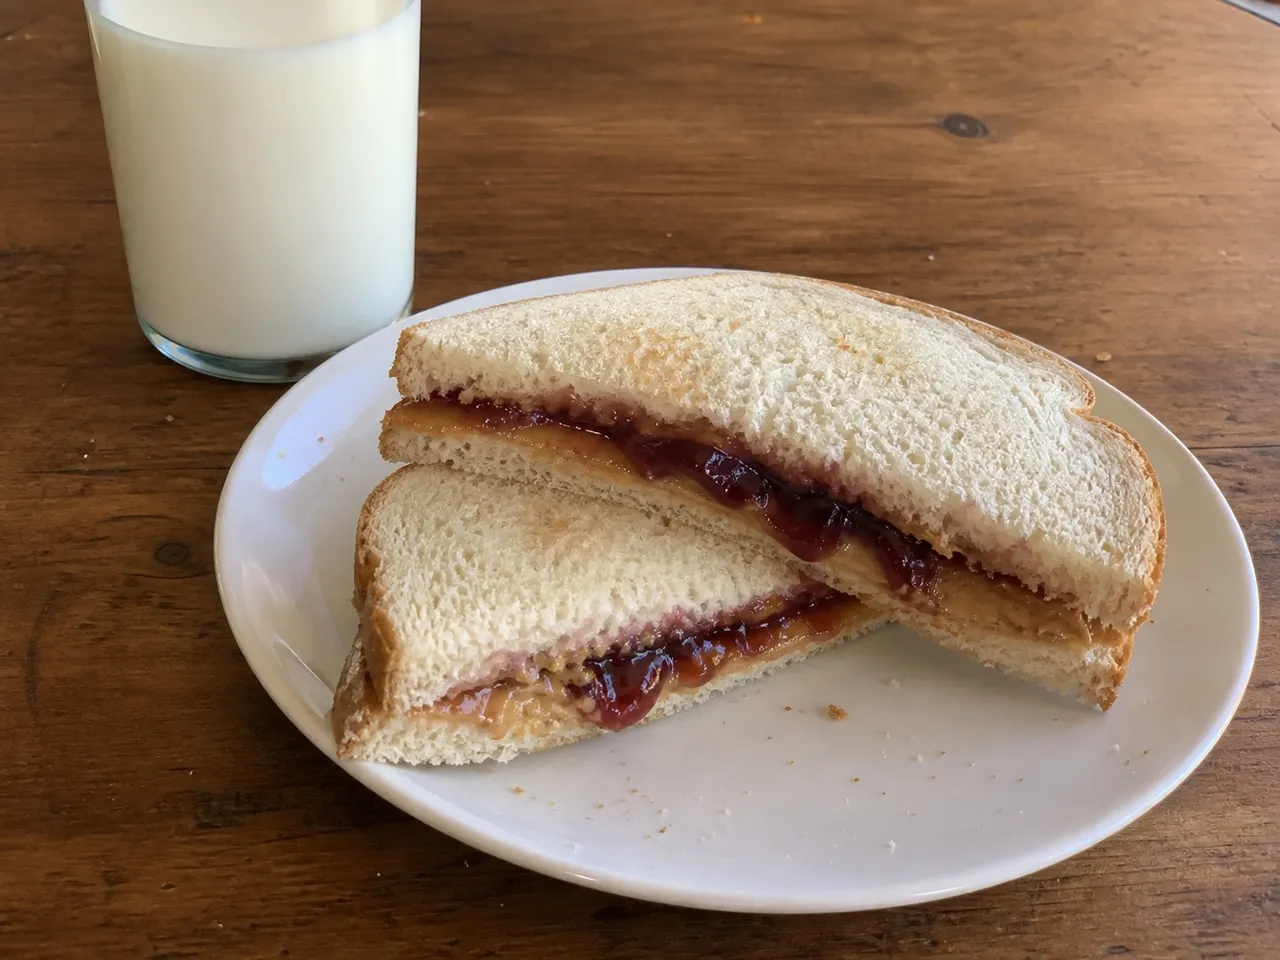 Serving Images are for illustrative purposes only, may be inaccurate, and do not guarantee the presence or absence of specific ingredients.
 Peanut Butter and Jelly Sandwich
The classic kids' lunchbox sandwich — creamy peanut butter and fruit jelly on soft bread.
Contains common allergens
In the app, Listahan checks these against your household automatically.
Good to know
- Ready in under 30 minutes
Matched from this dish's own ingredients and timing. Browse more: 30-minute meals
Instructions
6 steps- 1
Spread Peanut Butter: Spread the peanut butter evenly over one slice of bread, right to the edges.
- 2
Spread Jelly: Spread the jelly over the other slice (spreading jelly on its own slice keeps the bread from going soggy).
- 3
Close: Press the two slices together gently.
- 4
Trim (optional): Cut off the crusts if your kids prefer.
- 5
Cut: Slice into triangles or rectangles.
- 6
Serve: Serve with a glass of milk.
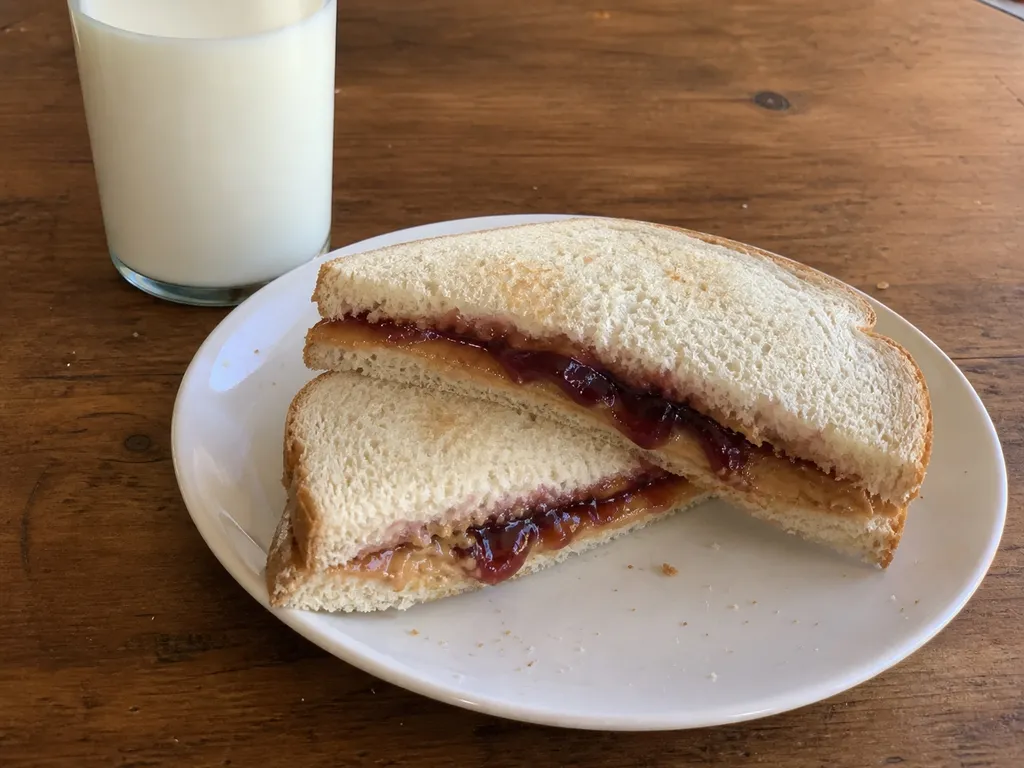 Images are for illustrative purposes only, may be inaccurate, and do not guarantee the presence or absence of specific ingredients.
 Listahan Family Score™
79/100
Good fit for most families
Score reflects how well this recipe fits a typical busy household. In the app, your Family Score is personalized to your household's allergens, kids, and pantry.
Nutrition
per serving95
Calories
3 g
Protein
12 g
Carbs
4 g
Fat
Estimated per serving. Actual values depend on the brands and portions you use.
Listahan cooking guide
Chef notes & practical guide
Technique notes, ingredient swaps, serve-alongside ideas, storage guidance, and equipment for this recipe.
Cultural context
The peanut butter and jelly sandwich became an American staple after both spreads grew cheap and shelf-stable in the early 20th century, and it spread fast as a lunchbox standard during the World War II era when it traveled well without refrigeration. It is now a near-universal childhood lunch across North America.
Listahan note
This version keeps the peanut butter on one slice and the jelly on the other on purpose, because the peanut butter forms a fat barrier that stops the jelly's moisture from soaking the bread before lunch.
Technique cues
- Spreading peanut butter right to the edges seals the whole face of the bread, so jelly cannot leak out the sides when the slices are pressed.
- Keeping the jelly on its own slice rather than spreading both on top of each other is a deliberate anti-sog move: the peanut butter layer keeps the wet jelly off the bare crumb.
- Pressing the slices together gently, not hard, keeps the soft bread from compressing into a dense gummy layer.
Kitchen flow
- Parallel prep
- Lay both slices out together and spread peanut butter on one while the jelly knife waits, so neither dries out.
- Make-ahead
- Assembled this way it holds a few hours for a lunchbox thanks to the peanut butter barrier, so it can be packed in the morning.
- Leftover move
- Cut leftover halves into cubes for a kid-friendly snack plate rather than rewrapping a squashed sandwich.
- Cleanup rhythm
- Wipe the single spreading knife and close both jars right after building; this is a two-minute, near-zero-mess job.
Ingredient brief
Role, handling, and swap guidance for each key ingredient.
soft sandwich bread
Structure
Purpose: Soft white or wheat bread is the pillowy base the spreads stick to, and its tenderness is part of the appeal.
Handling: Use fresh slices; staling bread tears when you spread sticky peanut butter across it.
Adaptation: Whole-grain bread adds fiber and chew but its sturdier crumb is less of the classic soft texture.
peanut butter
Fat barrier and main spread
Purpose: Beyond flavor, its fat layer shields the bread from the jelly's moisture, which is why it goes edge to edge.
Handling: Spread it evenly all the way to the crust so the seal is complete.
Adaptation: Sunflower seed butter is a peanut-free stand-in with a similar texture for nut-allergy households, note it is not safe for those avoiding seeds.
fruit jelly (grape)
Sweet contrast
Purpose: Grape jelly is the clear, set jelly that gives the classic mild sweetness and deep color against the peanut butter.
Handling: Use a thin even layer; too much jelly overwhelms the balance and seeps despite the barrier.
Adaptation: Mashed fresh banana or a low-sugar fruit spread cuts the sweetness while keeping the soft fruity layer.
fruit jam (strawberry)
Alternate fruit layer
Purpose: Strawberry jam carries seeds and fruit pieces, giving a fresher, chunkier, slightly less sweet bite than grape jelly.
Handling: Spread it slightly thinner than grape jelly since the fruit pieces make it wetter and more prone to seeping.
Adaptation: Seedless raspberry or blackberry jam swaps in for a tarter, more grown-up flavor with the same texture.
Technique notes
- Always put the wet jelly on the bread it will face, never on top of the peanut butter, to keep the fat barrier intact for a packed lunch.
- For a sealed pocket sandwich, press only the edges firmly and leave the center loose so the filling does not squeeze out.
- If using natural peanut butter, stir in the separated oil fully first or the spread tears the soft bread.
Ingredient swaps
- Peanut-free direction
- Use sunflower seed butter or soy butter in place of peanut butter for nut-allergy households; the flavor is earthier but the build is identical.
- Lower-sugar direction
- Swap a no-added-sugar fruit spread or mashed banana for the jelly, trading some sweetness for fruit flavor.
- Gluten-free direction
- Build on soft gluten-free sandwich bread; toast it lightly first since gluten-free bread tears more under sticky peanut butter.
Serve alongside
- Apple slices
- Carrot sticks
- Pretzel twists
- Grapes
- Cold milk
- Chocolate milk
- Apple juice
Serving suggestions only — check pairings for your household's allergens.
Storage & reheating
- Wrapped in parchment or a bag it keeps at room temperature for a lunchbox up to about 4 hours.
- There is no reheating step; serve at room temperature.
- Freeze sealed PB and jelly sandwiches up to 1 month and thaw at room temperature about 2 hours, which makes a ready packed lunch.
Equipment
- Butter knife or spreader
- Cutting board
- Bread knife
Make this household-aware
Listahan Pro checks this recipe against your household's allergens, finds pantry-aware swaps, builds the shopping list, and helps you plan the week around it.
Plan it in Listahan
Add Peanut Butter and Jelly Sandwich to your week, check it against your household's allergens, and build the shopping list automatically.
More Sandwiches recipes
 Sandwiches Lens Verified Images are for illustrative purposes only, may be inaccurate, and do not guarantee the presence or absence of specific ingredients.
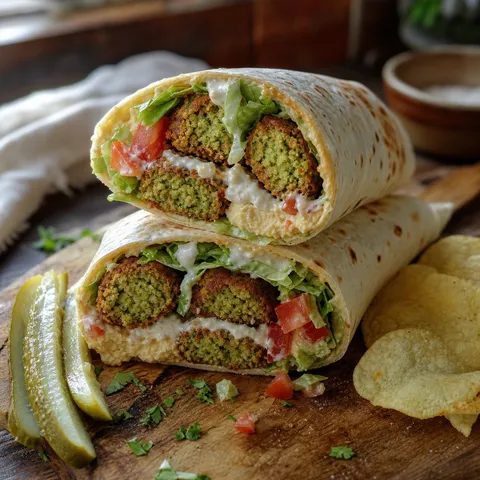
 Falafel Wrap
A vegetarian favorite with crispy falafel balls and tahini sauce in a wrap.
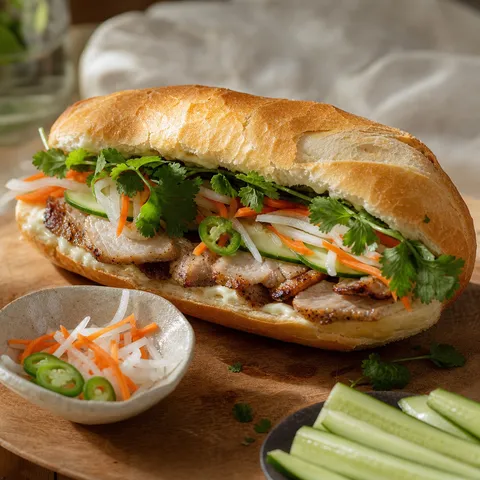 Sandwiches Lens Verified Images are for illustrative purposes only, may be inaccurate, and do not guarantee the presence or absence of specific ingredients.
 Banh Mi
A Vietnamese classic with savory meat, pickled vegetables, and fresh herbs in a baguette.
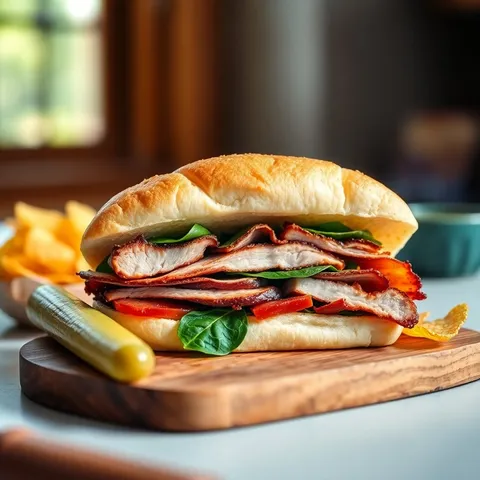 Sandwiches Lens Verified Images are for illustrative purposes only, may be inaccurate, and do not guarantee the presence or absence of specific ingredients.
 Roast Pork Italian Sandwich
Philadelphia's beloved roll piled with garlicky slow-roasted pork, sharp provolone, and garlicky sauteed broccoli rabe.