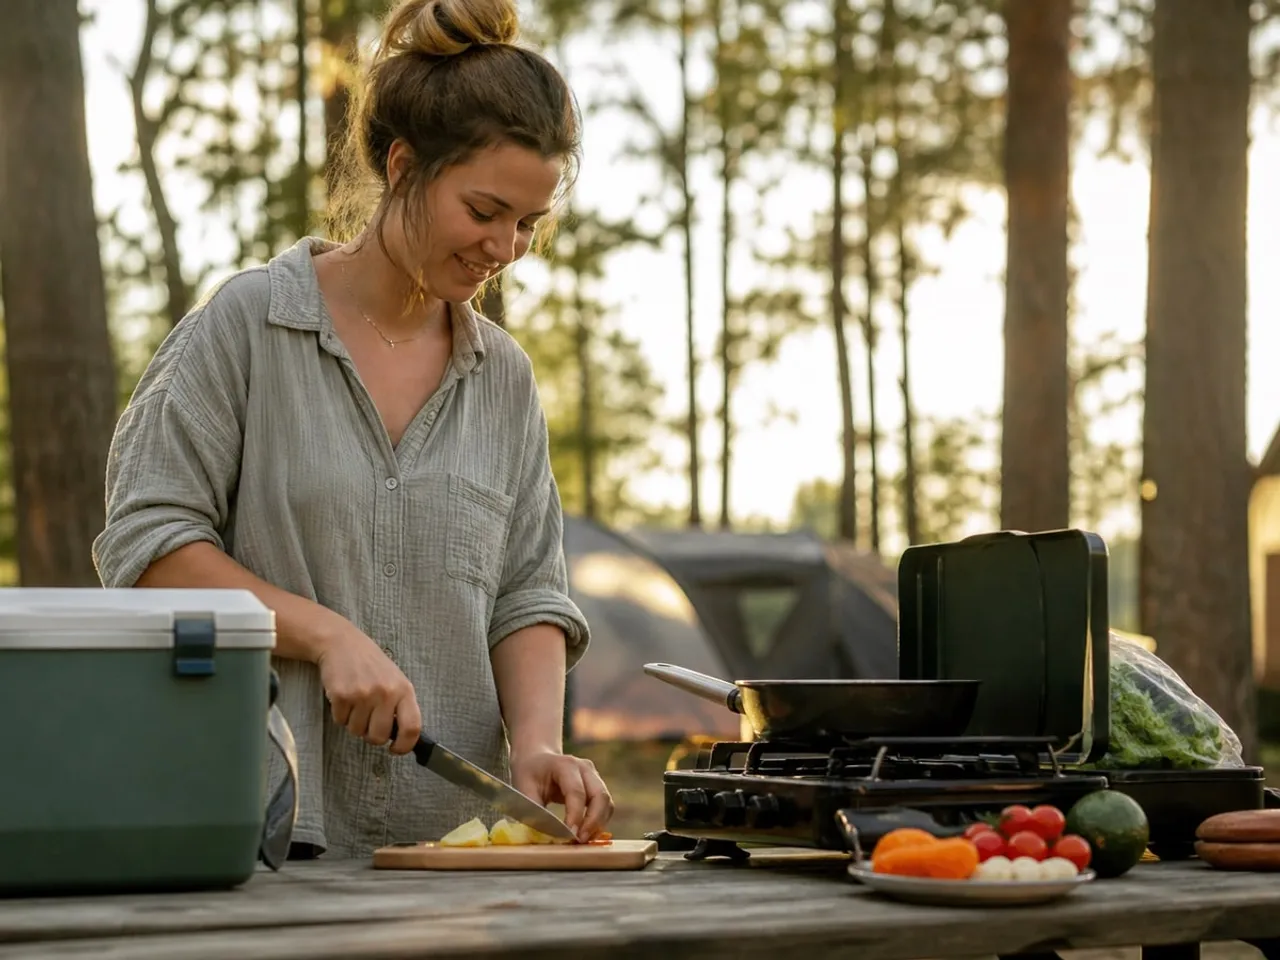
Camping trip Checklist
Tent camping — everything to pack and set up camp.
Before you go
- Check the weather forecast the morning you leave, not the week before — conditions at a campsite can shift fast, especially in the mountains.
- Arrive with enough daylight to pitch the tent and cook before dark; setting up camp by headlamp is where most first-trip stress comes from.
- Store all food, trash, and scented items away from the tent overnight — a clean sleeping area is the simplest way to avoid unwanted wildlife visits.
Shelter & sleep
- Tent
A portable fabric shelter with poles and stakes that keeps you dry and bug-free overnight.
Why it's on the list & how to choose
Why pack it: It's your home base at the campsite, so pack it before anything else.
How to choose: Size it for one more person than your group (a 4-person tent sleeps 2–3 comfortably with gear), and check it is rated for the season you are camping in.
Good to know: A tent's 'sleeps 4' rating assumes shoulder-to-shoulder with no gear, so most families find it fits two adults and their bags comfortably.
Tip: Practice setting it up at home once so you're not fumbling with poles after dark.
- Sleeping bags (1 per person)
An insulated bag rated to keep you warm through the night's low temperature.
Why it's on the list & how to choose
Why pack it: Keeps everyone warm once the campfire's out and the ground cools off.
How to choose: Pick a temperature rating at least 10°F below the coldest night you expect, since bag ratings run optimistic.
Good to know: Sleeping-bag temperature ratings often mark survival, not comfort, so you may feel cold near the rated number — pick a bag rated a good margin below the expected low.
Tip: Air them out and fluff the fill for a few minutes before use — packed insulation traps less warmth.
- Sleeping pads
A cushioned or inflatable pad that goes under the sleeping bag.
Why it's on the list & how to choose
Why pack it: Insulates you from the cold ground, which steals more body heat overnight than the air does.
How to choose: Choose an inflatable or self-inflating pad for warmth-to-weight, foam for durability and kids.
Good to know: A sleeping pad's R-value measures how well it blocks cold from the ground; around R-2 suits summer, while below-freezing nights want R-4 or more.
Tip: Bring a small patch kit for inflatables — a slow leak is easy to fix if you catch it early.
- Pillows Nice to have
A small camp pillow or your own from home for a better night’s sleep.
Why it's on the list & how to choose
Why pack it: A little home comfort makes an unfamiliar sleeping spot feel normal.
How to choose: Compressible camp pillows save space; a flat pillow from home works fine for car camping.
Good to know: A stuff-sack packed with soft clothes makes a serviceable pillow, which is why many backpackers skip a dedicated one entirely.
Tip: Stuff a spare shirt into a pillowcase as a backup if you forget one.
- Headlamp / flashlight
A hands-free flashlight worn on a headband.
Why it's on the list & how to choose
Why pack it: Lets you find things, cook, or walk to the bathroom at night without holding a flashlight.
How to choose: Look for at least 150 lumens with a red-light mode that won't ruin night vision or wake the tent.
How many: One per person, plus a spare set of batteries.
Good to know: A headlamp's red-light mode preserves your night vision, which takes 20 to 30 minutes to fully recover once you've looked at bright white light.
Tip: Pack spare batteries — headlamps get used far more than expected after dark.
Camp kitchen
- Camp stove & fuel
A portable propane or butane stove for cooking outside a campfire.
Why it's on the list & how to choose
Why pack it: Gives you a reliable way to cook meals even if firewood is wet or fires are banned.
How to choose: A 2-burner stove suits car camping; check you are packing the matching fuel canisters.
Good to know: Canister stoves lose pressure and burn weakly in near-freezing cold, which is why cold-weather campers often warm the canister before cooking.
Safety: Store fuel canisters upright and away from heat or flame, and only cook in the open air — never inside a tent, where fumes can build up.
Tip: Test it at home before the trip so a dead igniter doesn't surprise you at dinnertime.
- Cooler & ice
An insulated box packed with ice to keep food and drinks cold.
Why it's on the list & how to choose
Why pack it: Keeps perishables safe to eat for the length of the trip.
How to choose: Size it to your trip length and headcount — a good cooler holds ice for 3+ days in summer heat.
Good to know: Block ice melts far slower than cubes because it has less surface area, so a frozen jug keeps a cooler cold longer than the same weight of loose ice.
Tip: Pre-chill the cooler and freeze some water bottles to make the ice last longer.
- Matches / lighter
Waterproof matches or a butane lighter for starting stoves and campfires.
Why it's on the list & how to choose
Why pack it: You need a reliable fire-starter for cooking, warmth, and light.
How to choose: Bring two ignition methods (lighter plus matches) in case one gets wet or runs dry.
Good to know: Paper matchbooks fail once they get damp; stormproof matches keep burning even after a dunk in water, which is what makes them worth the extra cost.
Safety: Keep matches and lighters out of children's reach, and don't leave a lighter in a hot car — pressurized butane can leak or burst in high heat.
Tip: Store them in a zip-top bag so damp air doesn't dud them.
- Pot, pan & utensils
A basic pot, pan, and set of cooking utensils sized for camp meals.
Why it's on the list & how to choose
Why pack it: Lets you actually cook rather than eat everything cold from a bag.
How to choose: A single pot and pan handles most camp meals — pick nesting sets to save pack space.
Good to know: A pot with a lid boils water faster and burns less fuel than cooking uncovered, which matters when every meal runs off a limited canister.
Tip: Bring a scrubber and small biodegradable soap so cleanup doesn't become a chore.
- Plates, cups & cutlery
Reusable plates, cups, and cutlery for eating at camp.
Why it's on the list & how to choose
Why pack it: Beats paper plates that blow away and cost more per trip in the long run.
How to choose: Pick lightweight, unbreakable camp-specific plates over the good dishes from home.
Good to know: Enamel and hard-plastic camp plates shrug off the drops that shatter ceramic, and they double as a cutting or prep surface in a pinch.
Tip: Pack one set per person plus a spare to skip a dishwashing round mid-meal.
- Trash bags
Heavy-duty bags for packing out food waste and camp trash.
Why it's on the list & how to choose
Why pack it: Keeps the site clean and food smells away from tents (and wildlife).
How to choose: Bring more than you think — a few extra doubles as a wet-gear or laundry bag.
Good to know: Scented food waste draws wildlife from a surprising distance, so in bear country trash belongs in a locker or hung well away from where you sleep.
Tip: Tie one shut and stow it away from the tent overnight to avoid attracting animals.
Clothing
- Warm layers
Fleece or insulated layers to add once the sun goes down.
Why it's on the list & how to choose
Why pack it: Campsite temperatures can drop sharply at night even after a warm day.
How to choose: Pack layers you can add or remove rather than one heavy coat, so you can adjust as it cools.
Good to know: Several thin layers trap more warmth than one thick coat because they hold air between them, and they let you shed heat before you sweat as you move.
Tip: A warm layer doubles as an extra pillow or blanket if nights run colder than expected.
- Rain jacket
A waterproof shell to keep you dry in sudden rain.
Why it's on the list & how to choose
Why pack it: Weather at a campsite is harder to control for than at home, so staying dry matters more.
How to choose: Look for a jacket that is actually waterproof (not just water-resistant) with a hood.
Good to know: Waterproofing wears off with washing and wear; a jacket that 'wets out' and looks soaked on the outside has lost its coating, not sprung a leak.
Tip: Pack it near the top of your bag — you'll want it fast if a storm rolls in.
- Extra socks
Backup pairs of socks beyond what you are wearing.
Why it's on the list & how to choose
Why pack it: Wet socks from dew, rain, or a stream crossing are a fast way to get cold and miserable.
How to choose: Wool or synthetic blends dry faster and stay warmer wet than cotton.
How many: About one pair per day, plus two spares.
Good to know: Wet feet blister and chill far faster than dry ones, so a fresh pair of socks is one of the cheapest ways to rescue a miserable day outdoors.
Tip: Pack one pair per day plus two spares — socks get wet more than any other item.
- Hat
A cap or brimmed hat for sun and warmth.
Why it's on the list & how to choose
Why pack it: Protects your head and face from sun during the day and heat loss at night.
How to choose: Pack both a sun hat and a warm beanie if temperatures swing a lot.
Good to know: An uncovered head sheds real body heat on a cold night, which is why sleeping in a beanie can be the difference between a cold night and a warm one.
Tip: Clip it to your bag so it doesn't blow away at an open campsite.
- Sturdy shoes / boots
Closed-toe boots or trail shoes with real tread and ankle support.
Why it's on the list & how to choose
Why pack it: Campsites have roots, rocks, and uneven ground where sandals aren't safe.
How to choose: Choose shoes you have already broken in — new boots on a camping trip risk blisters.
Good to know: New boots are a leading cause of trail blisters, since footwear needs dozens of miles to mold to your feet — break them in well before the trip, not on it.
Tip: Pack a second pair so you have dry shoes if the first pair gets soaked.
Tools & health
- First-aid kit
A kit with bandages, antiseptic, and basic medication for minor injuries.
Why it's on the list & how to choose
Why pack it: Cuts, scrapes, and bug bites are common outdoors and help isn't nearby.
How to choose: Get one sized for your group and check it includes blister care and any personal medications.
Good to know: Blister care and tweezers get used far more than bandages on a camping trip, yet they're the pieces most often missing from a basic store-bought kit.
Safety: Keep any medications in the kit out of children's reach, and check ointments and medicines aren't past their expiry before you leave.
Tip: Check expiration dates on ointments and medication before you leave.
- Sunscreen
SPF lotion or spray to protect skin from sun exposure.
Why it's on the list & how to choose
Why pack it: You're outdoors all day at camp, often with more direct sun exposure than at home.
How to choose: Pick at least SPF 30, water-resistant if you will be swimming or sweating.
How many: Roughly a shot-glass amount to cover an adult's exposed skin, reapplied every two hours.
Good to know: Sunscreen loses strength once it's opened or left in a hot car, so last summer's half-used bottle may protect less than its SPF number claims.
Safety: Check the sunscreen isn't past its expiry date and keep it out of direct heat, which breaks down the active ingredients over time.
Tip: Reapply every couple of hours — one morning application won't last the whole day.
- Bug spray
Insect repellent to keep mosquitoes and ticks away.
Why it's on the list & how to choose
Why pack it: Campsites near woods or water often have heavy bug activity, especially at dusk.
How to choose: Look for DEET or picaridin for strong protection; for young children, check the label for age guidance.
Good to know: A higher DEET percentage lasts longer rather than working stronger — about 20 to 30% protects for several hours, and more mainly extends the time.
Safety: Follow the label for how often to reapply and any age guidance, apply it to exposed skin outdoors, and wash it off once you're back inside.
Tip: Apply sunscreen first, then bug spray on top — the order affects how well each works.
- Pocket knife
A folding pocket knife for cutting rope, food, or kindling.
Why it's on the list & how to choose
Why pack it: One of the most-used camp tools, from opening packages to prepping food.
How to choose: A simple folding knife with a locking blade is enough for most camp tasks.
Good to know: A sharp knife is safer than a dull one, because a dull blade needs more force and is likelier to slip — which is where most knife cuts actually happen.
Safety: Keep the blade folded and stored out of children's reach, and always cut on a stable surface with the edge angled away from your body.
Tip: Keep it in the same pocket or pouch every time so it's never the thing you can't find.
- Water bottles
Reusable bottles to carry and store drinking water.
Why it's on the list & how to choose
Why pack it: Staying hydrated is harder to track outdoors, so having your own bottle helps you notice.
How to choose: Pack one per person, sized for a full day between refills.
How many: About 2 L of drinking water per person per day, more in heat or at altitude.
Good to know: Thirst lags behind dehydration, so by the time you feel it you're already low — pale-yellow urine is a more reliable sign you're drinking enough.
Tip: Label bottles or use different colors so kids know which is theirs.
- Toilet paper
A roll or travel-size pack for the campsite bathroom or backcountry.
Why it's on the list & how to choose
Why pack it: Many campsite bathrooms run out, and there's none at all in the backcountry.
How to choose: Pack it in a zip-top bag to keep it dry no matter the weather.
How many: Figure about one small roll per two people for a weekend, packed in a sealed bag.
Good to know: Crushing the roll flat or pulling the cardboard tube lets you pack it smaller and draw sheets from the center, keeping the whole thing dry in a bag.
Tip: Bring more than you'd use at home — one roll disappears fast among a group.
- Camp chairs Nice to have
Lightweight folding chairs for sitting around the site or fire.
Why it's on the list & how to choose
Why pack it: A flat log or the ground gets uncomfortable fast after a long day.
How to choose: Look for compact, lightweight folding chairs that pack down small for the car or trunk.
Good to know: A camp chair that sits low with a wide base won't sink or tip on soft campsite dirt the way a tall, narrow folding chair does.
Tip: Choose ones with a built-in cup holder — one less thing to carry around.
- Power bank Nice to have
A portable battery pack for recharging phones and headlamps.
Why it's on the list & how to choose
Why pack it: There is no outlet at most campsites, and phones double as cameras, maps, and flashlights.
How to choose: Get one with enough capacity for 2–3 full phone charges over a multi-day trip.
How many: A 10,000 mAh bank gives most phones about two to three full charges.
Good to know: Cold weather temporarily saps a power bank's usable charge, so on chilly nights it holds more if you keep it inside your bag rather than out in the open.
Safety: Keep lithium power banks out of extreme heat, and don't use one that's swollen or damaged; on flights they must go in your carry-on, never checked.
Tip: Charge it fully the night before you leave — it's easy to forget once you're packing everything else.
- S’mores kit Nice to have
Graham crackers, chocolate, and marshmallows for roasting over the fire.
Why it's on the list & how to choose
Why pack it: A classic campfire treat that makes the trip feel like a real camping trip.
How to choose: Bring roasting sticks or skewers if the site doesn’t provide any.
Good to know: Letting a marshmallow catch fire chars the outside before the middle warms; holding it near glowing embers instead melts it through to a gooey center.
Tip: Pack the chocolate somewhere cool — it melts fast in a hot car or daypack.
Common questions
What's the most important thing to pack for a first camping trip?
How do I keep food cold while camping without power?
What should I do if it rains while camping?
Get it in the app to check off & save
Start this checklist in Listahan, tick items off as they go in the bag, and it's saved for the next trip — pre-filled instead of starting over. Free to start, no card.