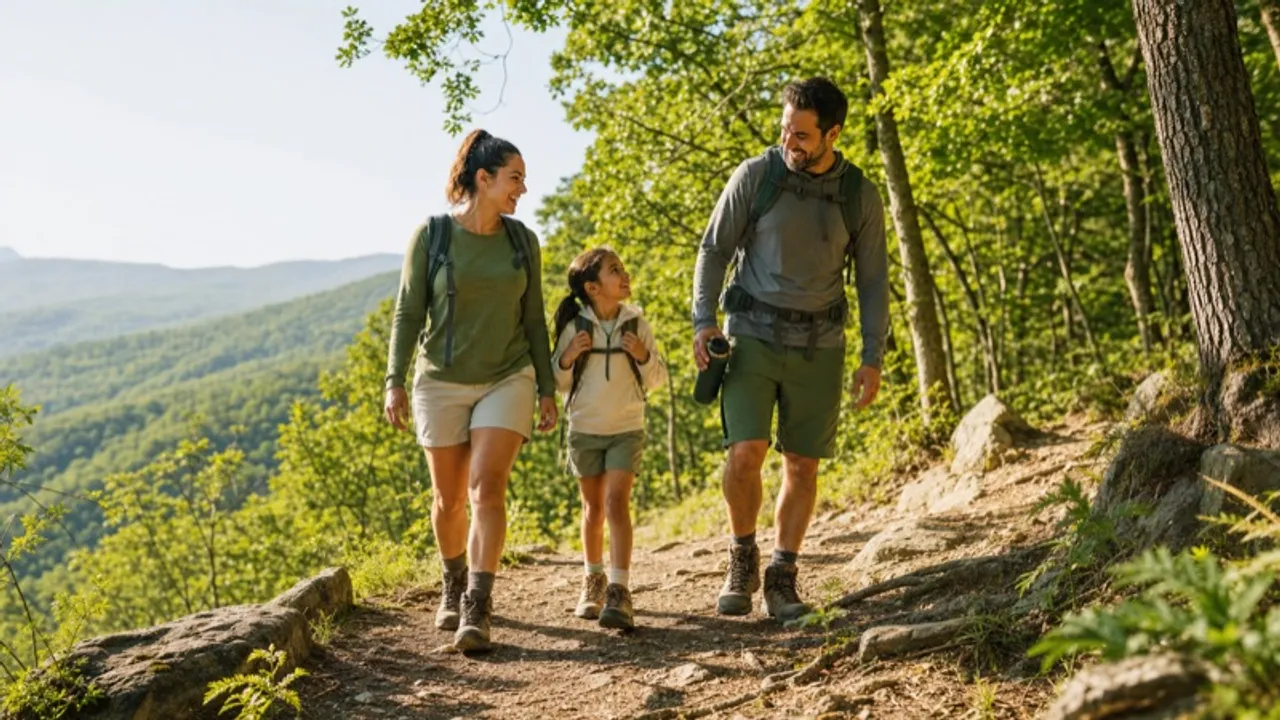
Hiking / day hike Checklist
A day hike — the essentials to stay safe and comfortable on the trail.
Before you go
- Tell someone your route and expected return time before you leave, and check in when you are back — the single most useful safety step for a day hike.
- Turn around at a set time, not just at the summit; most hikers get into trouble by pushing on and running out of daylight on the way down.
- Check the trail's latest conditions and the afternoon forecast the morning you go — mountain weather can change hours faster than a week-old forecast suggests.
The essentials
- Water (plenty per person)
Drinking water carried in a bottle or hydration bladder.
Why it's on the list & how to choose
Why pack it: Staying hydrated is the single biggest factor in a safe, enjoyable hike.
How to choose: Plan on about half a liter per hour of hiking, more in heat or on climbs.
How many: About half a liter per hour of hiking, more in heat or on steep climbs.
Good to know: On a hot climb an adult can sweat close to a liter an hour, so the water that felt like plenty at the trailhead often runs out before the turnaround.
Tip: Start drinking before you feel thirsty — thirst means you're already behind.
- Trail snacks
Portable, energy-dense food like nuts, bars, or dried fruit.
Why it's on the list & how to choose
Why pack it: Keeps energy up over a longer hike than a single meal can sustain.
How to choose: Pick snacks that don't melt or crush easily and pack a mix of carbs and protein.
How many: Roughly 200 calories per hour of hiking as a rough guide.
Good to know: Salty snacks matter as much as sweet ones on a long hike, because you lose salt through sweat and replacing only water can leave you feeling worse, not better.
Tip: Eat a little every hour rather than waiting until you're already hungry or tired.
- Map / GPS
A physical trail map or offline GPS route for navigation.
Why it's on the list & how to choose
Why pack it: Phone signal and battery aren't reliable on the trail, so you need a backup way to find your way.
How to choose: Download an offline map of the exact trail before you leave home.
Good to know: A downloaded phone map still finds you by GPS without any cell signal, but a dead battery takes it with it — a paper map is the backup that never runs out.
Tip: Note key landmarks and turnoffs before you start so the map isn't the only thing keeping you oriented.
- First-aid kit
A compact kit with bandages, blister care, and basic medication.
Why it's on the list & how to choose
Why pack it: Minor injuries like blisters or scrapes are the most common thing to happen on a trail.
How to choose: A small trail-sized kit is enough — prioritize blister pads and adhesive bandages.
Good to know: Blisters, not dramatic injuries, are the most common reason a hike ends early, so blister pads and tape earn their place more than almost anything else in the kit.
Safety: Keep any medications in the kit out of children's reach, and check nothing has expired before you head out.
Tip: Check it before every hike since items get used up trip to trip.
- Sunscreen
SPF lotion to protect exposed skin on the trail.
Why it's on the list & how to choose
Why pack it: Sun exposure is often stronger on exposed trails and at elevation than it feels.
How to choose: Pick SPF 30+ and a formula that won't sting your eyes when you sweat.
How many: About a shot-glass amount for exposed skin, reapplied every two hours.
Good to know: UV strength climbs about 10% for every 1,000 feet of elevation, so a mountain trail burns you faster than the same hours would at sea level.
Safety: Check the sunscreen hasn't expired and store it out of direct heat, which weakens the active ingredients.
Tip: Reapply after a couple of hours, especially on your neck and ears.
- Headlamp
A hands-free light in case the hike runs longer than planned.
Why it's on the list & how to choose
Why pack it: Even a planned day hike can run past sunset if you're delayed.
How to choose: A compact, lightweight headlamp with fresh batteries is enough for a day hike.
Good to know: Being caught out after dark without a light is a common way a routine hike turns into a rescue call, even when the trail is short and familiar.
Tip: Pack it even on short hikes — it weighs almost nothing and covers you if you're running late.
What to wear
- Hiking boots
Sturdy footwear with grip and ankle support for trail terrain.
Why it's on the list & how to choose
Why pack it: Protects your feet and ankles on uneven, rocky, or muddy ground.
How to choose: Choose boots already broken in, sized with room for a thicker sock.
Good to know: Boots feel roomier in a store than on a downhill mile, where your foot slides forward — sizing with a thumb's width at the toe prevents bruised toenails.
Tip: Never wear brand-new boots on a hike — break them in on short walks first.
- Moisture-wicking layers
Quick-drying shirts and layers made for exercise, not cotton.
Why it's on the list & how to choose
Why pack it: Regulates your temperature as you heat up climbing and cool down at rest stops.
How to choose: Avoid cotton, which stays wet and cold — pick synthetic or wool blends.
Good to know: Cotton holds sweat against your skin and pulls heat away as it dries, which is the origin of the hiker's saying that 'cotton kills' in cold, wet conditions.
Tip: Pack a light extra layer even in warm weather in case the weather turns at higher elevation.
- Rain jacket
A packable waterproof shell for sudden weather changes.
Why it's on the list & how to choose
Why pack it: Trail weather can change fast, especially at elevation, with little warning.
How to choose: Look for a lightweight, packable jacket that fits in your daypack without adding bulk.
Good to know: Mountain storms often build in the afternoon, so an early start gets you up and back before the weather a rain jacket is there to handle.
Tip: Pack it near the top of your bag so you can grab it quickly if clouds roll in.
- Hat
A brimmed hat or cap for sun protection on exposed trail sections.
Why it's on the list & how to choose
Why pack it: Shades your face and neck on trails with little tree cover.
How to choose: Pick one that stays on in wind, with a chin strap if the trail is exposed.
Good to know: The back of the neck and the tops of the ears catch sun most hikers forget, and they're among the most common places to burn on an exposed trail.
Tip: A hat with a brim all around also protects the back of your neck.
- Sunglasses
UV-protective eyewear for bright or high-elevation trails.
Why it's on the list & how to choose
Why pack it: Protects your eyes from sun and glare, especially near snow, water, or open ridgelines.
How to choose: Pick sunglasses with real UV protection, not just tinted lenses.
Good to know: Snow and water reflect UV back up at your eyes, and enough glare over a day can cause a painful, temporary 'snow blindness' — real UV lenses, not just tint, prevent it.
Tip: Use a strap so they don't fall off if you're scrambling over rocks.
In the pack
- Daypack
A small backpack for carrying everything on the hike.
Why it's on the list & how to choose
Why pack it: Lets you carry water, food, and gear hands-free over the whole trail.
How to choose: A 15–25 liter pack is enough for most day hikes with room for extra layers.
Good to know: A pack rides best when its weight sits high and close to your spine; loading heavy gear low or far out drags your shoulders back and tires you faster.
Tip: Pack heavier items close to your back for better balance on uneven trail.
- Whistle
A small emergency whistle for signaling if you get lost or hurt.
Why it's on the list & how to choose
Why pack it: Sound carries much farther than shouting and takes no energy to keep using.
How to choose: A simple, loud plastic whistle clipped to your pack strap is all you need.
Good to know: A whistle carries much farther than a shout and takes almost no breath, so a lost or injured hiker can keep signaling long after their voice would give out.
Tip: Learn the standard distress signal — three short blasts — before you need it.
- Pocket knife
A folding pocket knife for cutting, food prep, or minor repairs.
Why it's on the list & how to choose
Why pack it: Useful for everything from cutting rope to opening food packaging on the trail.
How to choose: A small, simple folding knife is enough — you don't need a full multi-tool.
Good to know: For a day hike a small folding blade covers nearly every real need; the bulky multi-tools people pack mostly add weight they carry all day and never use.
Safety: Keep the blade folded and out of children's reach, and cut away from your body on a stable surface.
Tip: Keep it in the same pack pocket every time so it's easy to find in an emergency.
- Insect repellent
Insect repellent for mosquitoes and ticks on wooded or brushy trails.
Why it's on the list & how to choose
Why pack it: Bugs are more common on shaded or overgrown sections of trail.
How to choose: Pick a DEET or picaridin repellent, and treat clothing if the trail is known for ticks.
Good to know: Ticks latch on low and climb, so most bites are below the knee — tucking pants into socks and treating boots gives them far less of a foothold.
Safety: Follow the label for reapplication and any age guidance, apply to exposed skin, and wash it off once you're home.
Tip: Check for ticks after the hike, especially around ankles and hairline.
- Phone (charged)
Your phone, charged, for navigation, photos, and emergencies.
Why it's on the list & how to choose
Why pack it: It's your backup map, camera, and way to call for help if something goes wrong.
How to choose: Charge it fully before you leave and consider airplane mode to save battery on the trail.
Good to know: Cold drains a phone battery fast and hunting for a weak signal drains it faster, so airplane mode with GPS on stretches a charge across a full day on the trail.
Tip: Tell someone your route and expected return time before you head out, in case your phone dies.
- Trekking poles Nice to have
Adjustable poles for balance and reduced strain on climbs and descents.
Why it's on the list & how to choose
Why pack it: Takes pressure off your knees on descents and helps with balance on rough terrain.
How to choose: Pick adjustable poles you can size to your height and the terrain's steepness.
Good to know: Poles can take a real share of the load off your knees on descents — the point in a hike where downhill impact does the most joint damage.
Tip: Use the wrist straps properly so your hands can relax between plants.
- Blister plasters Nice to have
Cushioned adhesive patches designed specifically for blisters.
Why it's on the list & how to choose
Why pack it: Catching a hot spot early with a blister plaster can save the rest of the hike.
How to choose: Look for a padded, waterproof blister patch rather than a regular bandage.
Good to know: A 'hot spot' — the warm, rubbing patch before a blister forms — is the window to act, and covering it then usually saves the rest of the hike.
Tip: Apply one the moment you feel a hot spot — don't wait until it's already a blister.
Common questions
What's the one thing hikers most often forget?
Do I need hiking boots for a short day hike?
What should I do if I'm still on the trail after dark?
Get it in the app to check off & save
Start this checklist in Listahan, tick items off as they go in the bag, and it's saved for the next trip — pre-filled instead of starting over. Free to start, no card.